PICOCAD TUTORIAL
Hi All! Welcome to my 3D modeling with PicoCAD tutorial!
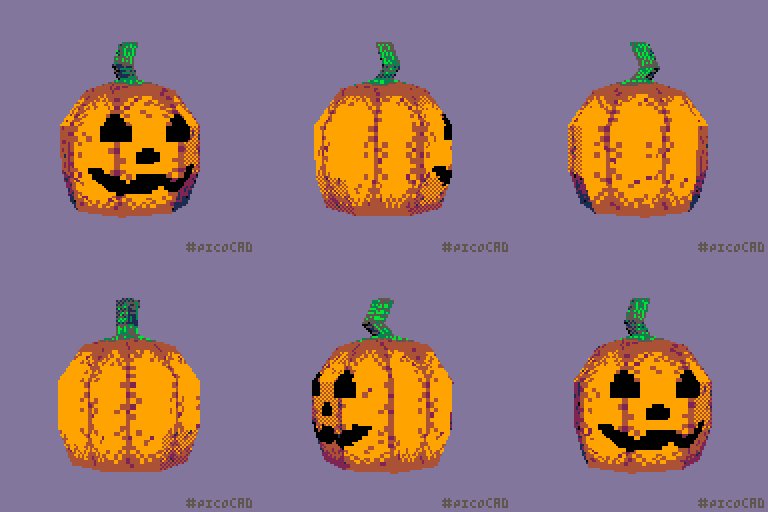
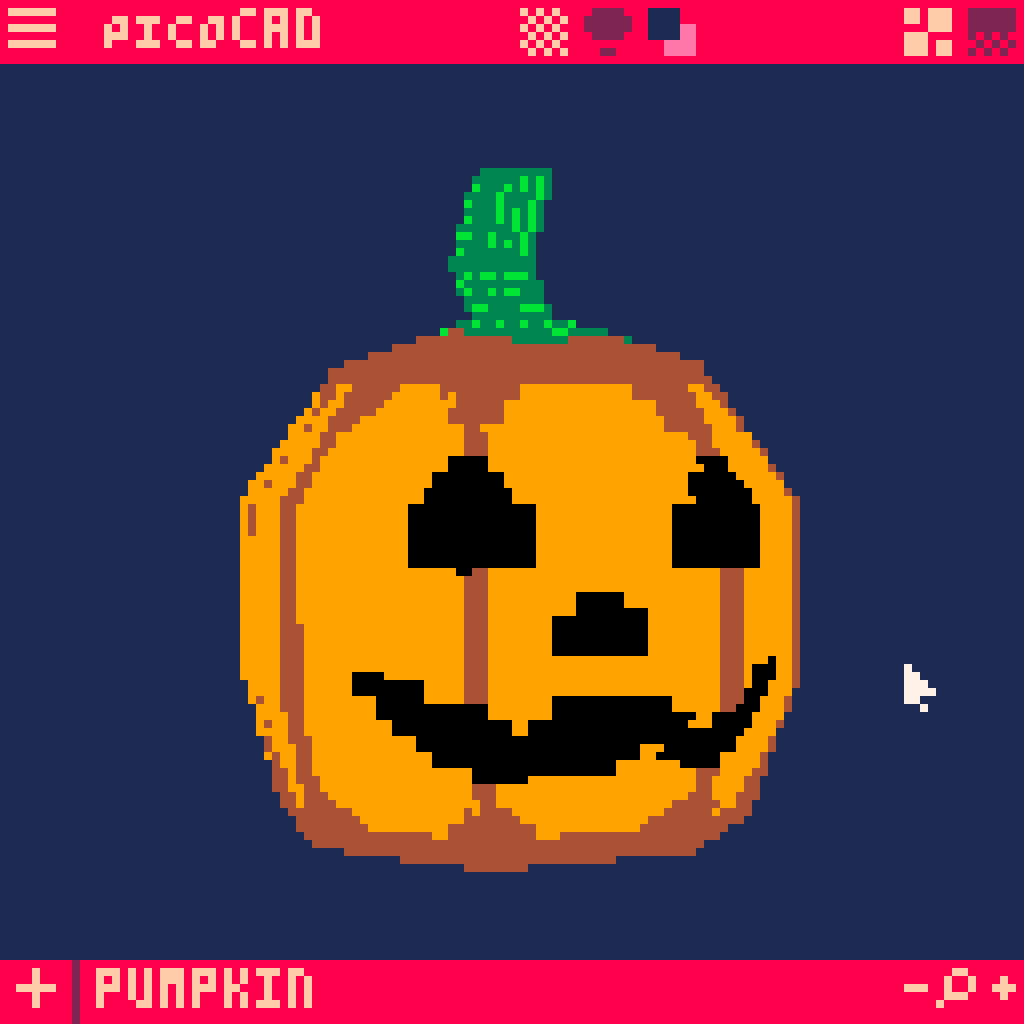
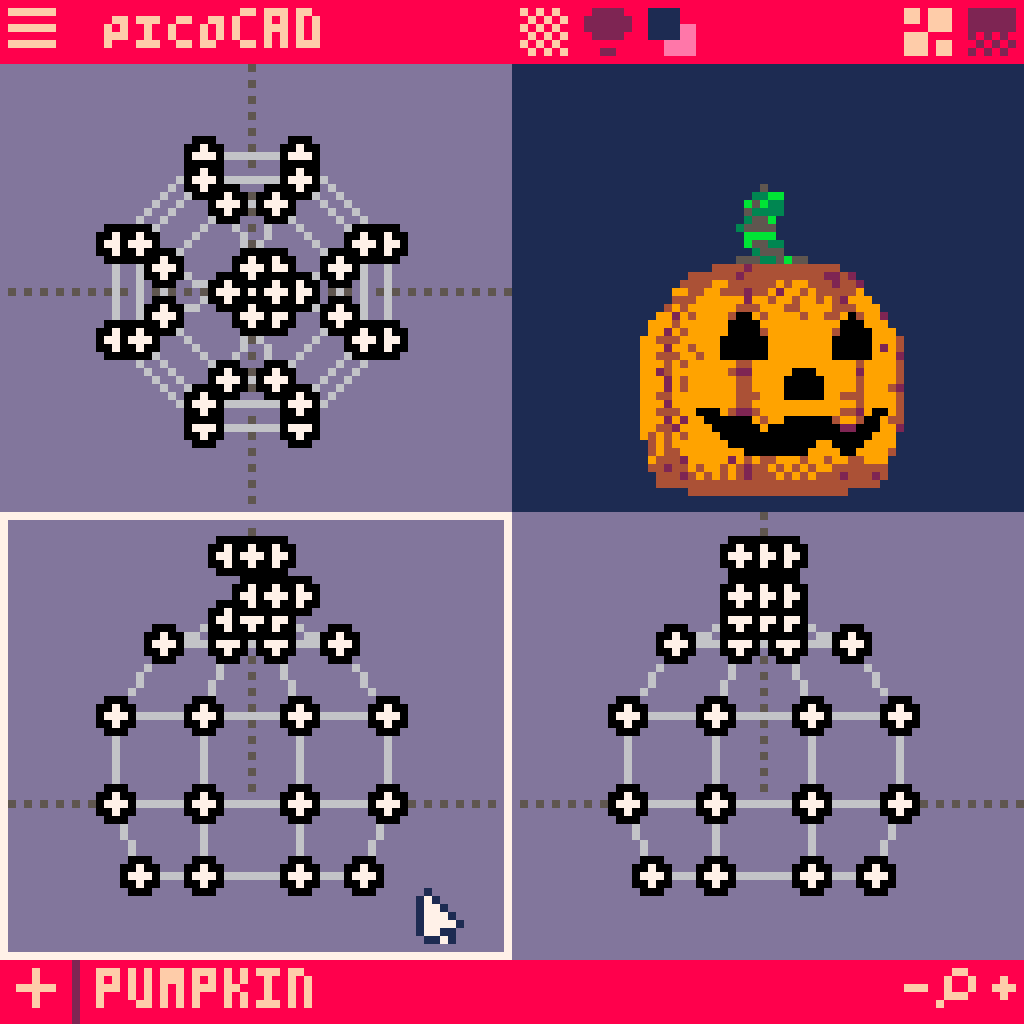
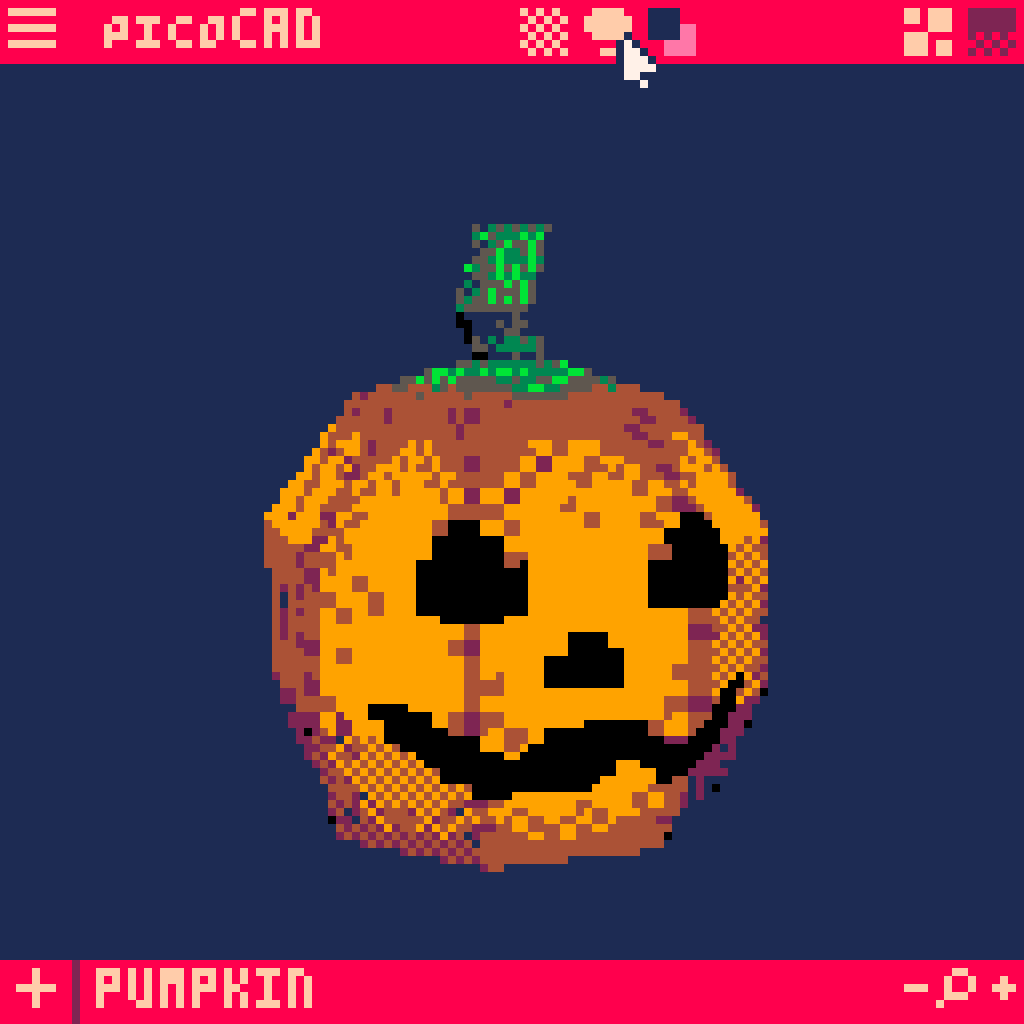
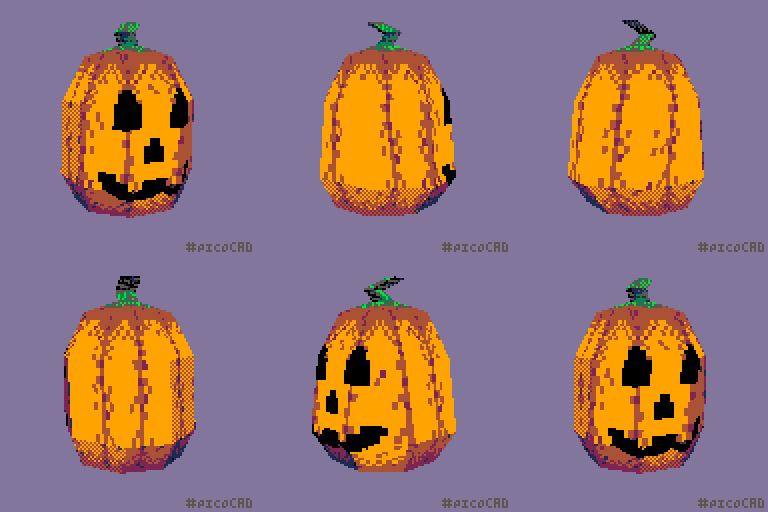
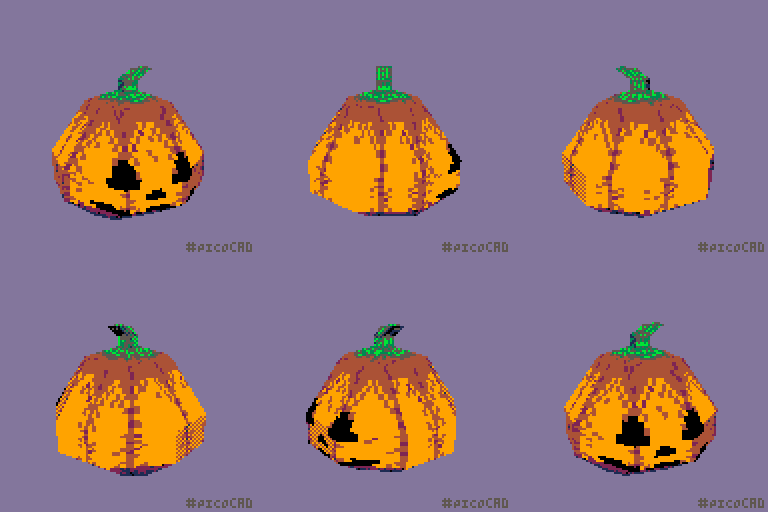
During this tutorial, we will be learning how to make this:

WHAT IS PICOCAD??
PicoCAD is a 3D modeling software tool created by Johan Peitz built within Pico-8. It is used specifically to make tiny, low-poly models with a limited palette. It's a great tool for making little animated gifs of cute low poly stuff!
AAAAND WHAT IS PICO-8???
Pico-8 is a "fantasy console". It's a game development engine that presents itself as a console that may have existed in the late 80s and early 90s. You can both load games into it to play and access the backend console for game development. Games are saved on "carts" as a png image with all the game's data existing within the png. This makes it easy for folks to make games and quickly pass them around or post them online.
GETTING STARTED
Let's add a shape.
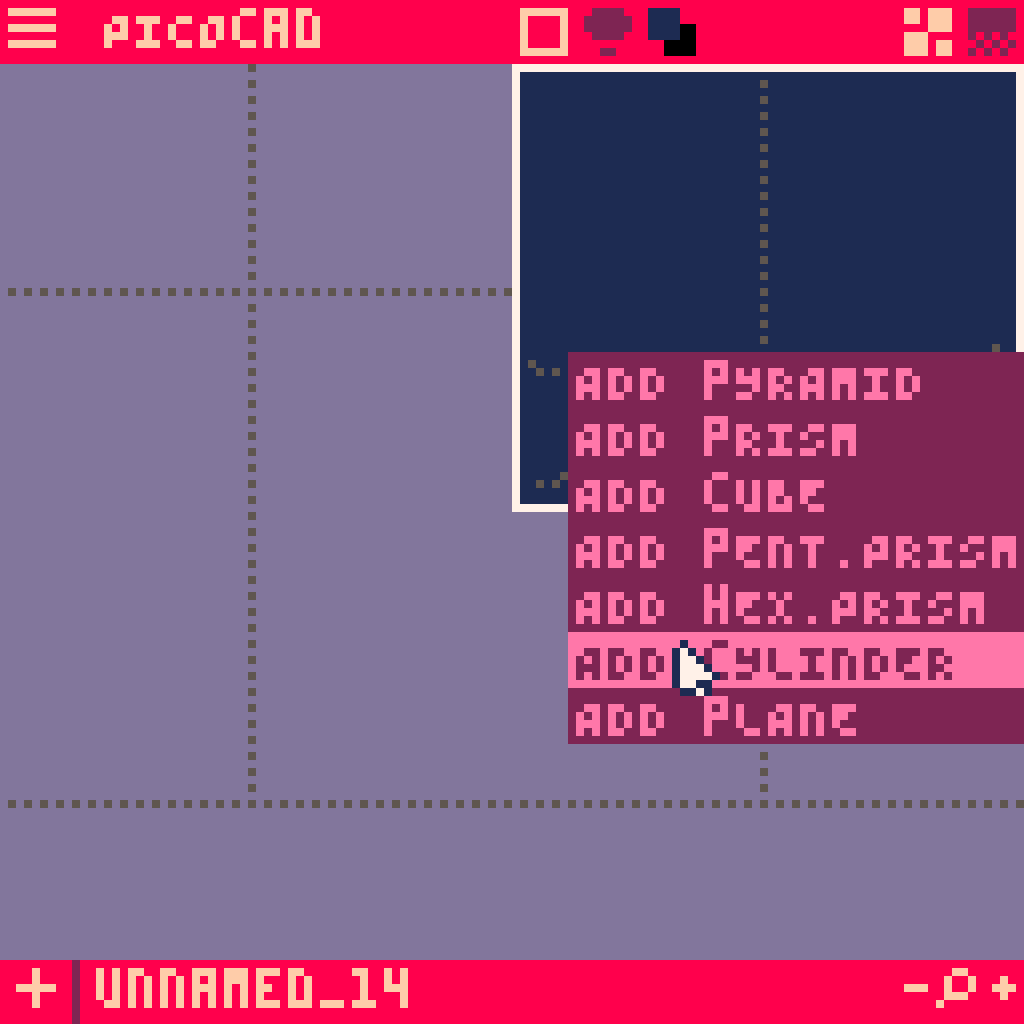
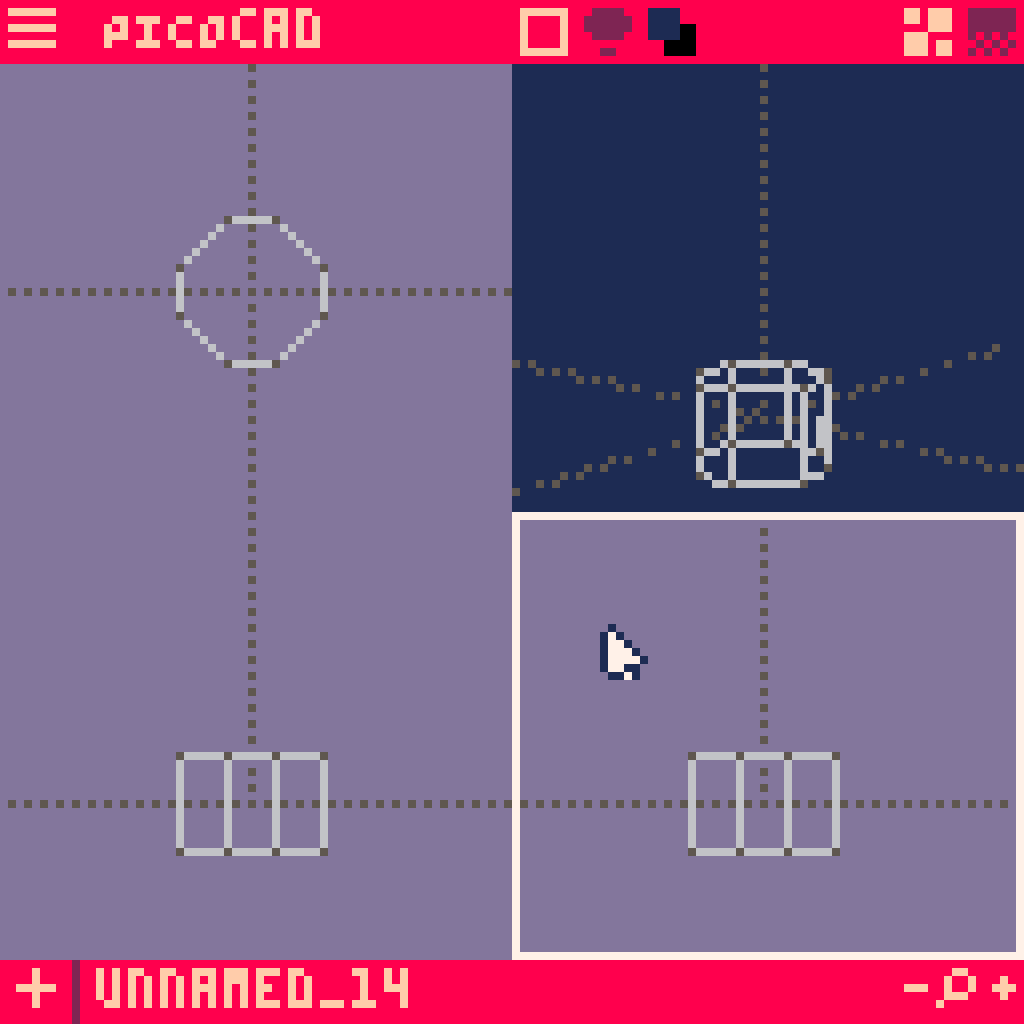
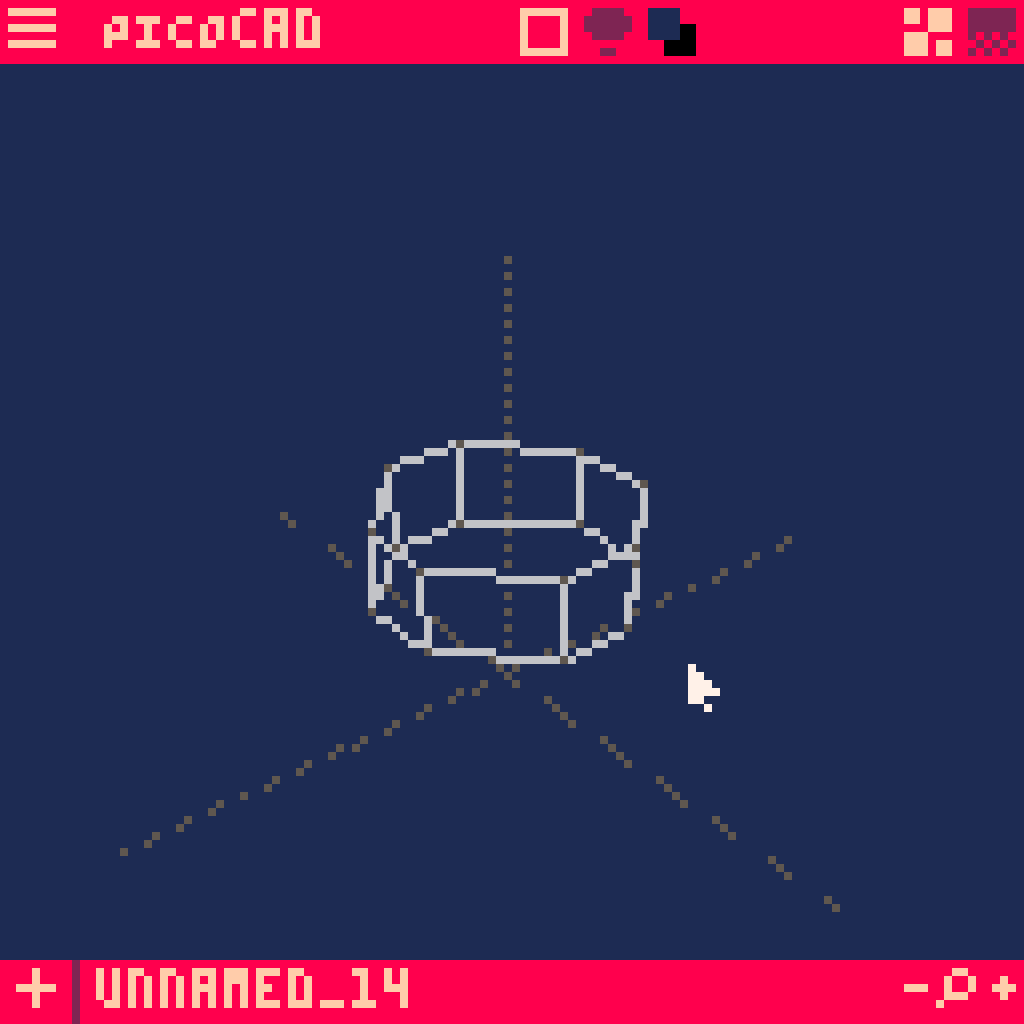
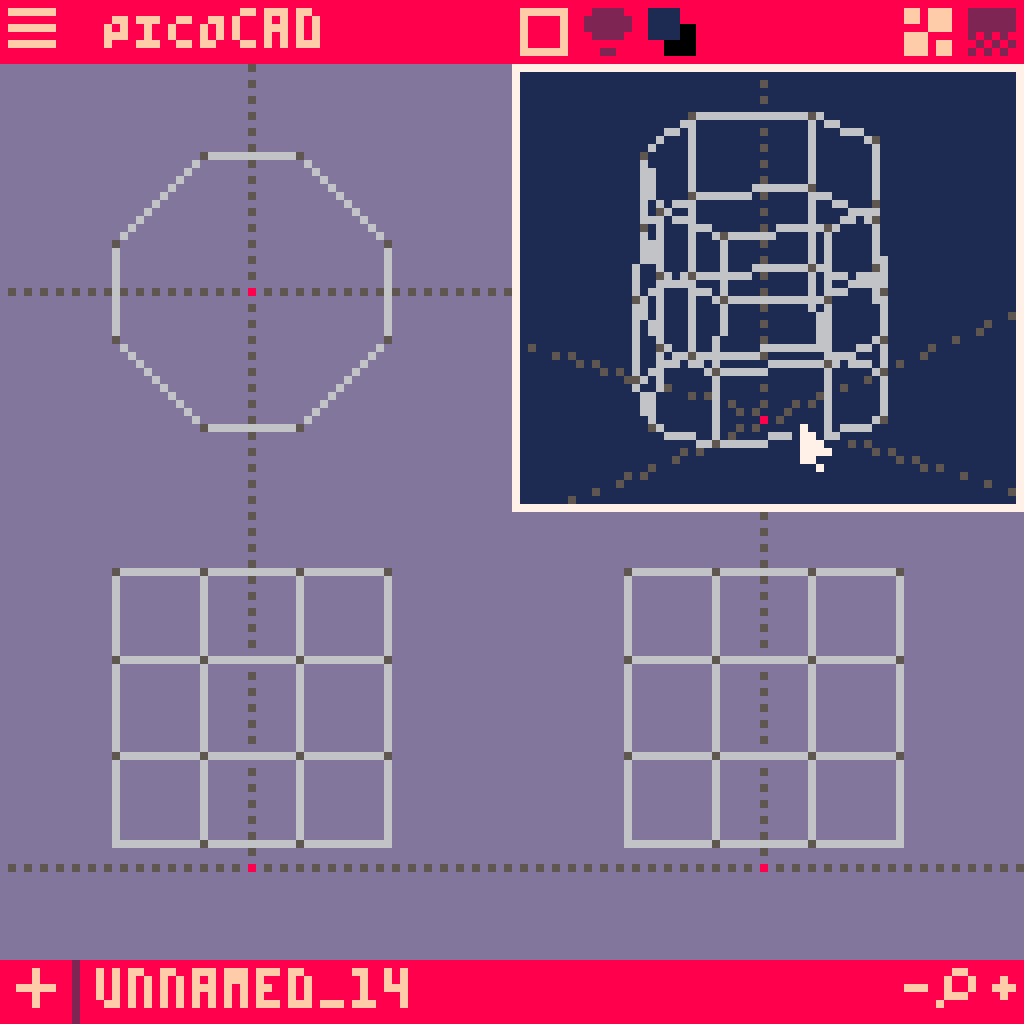
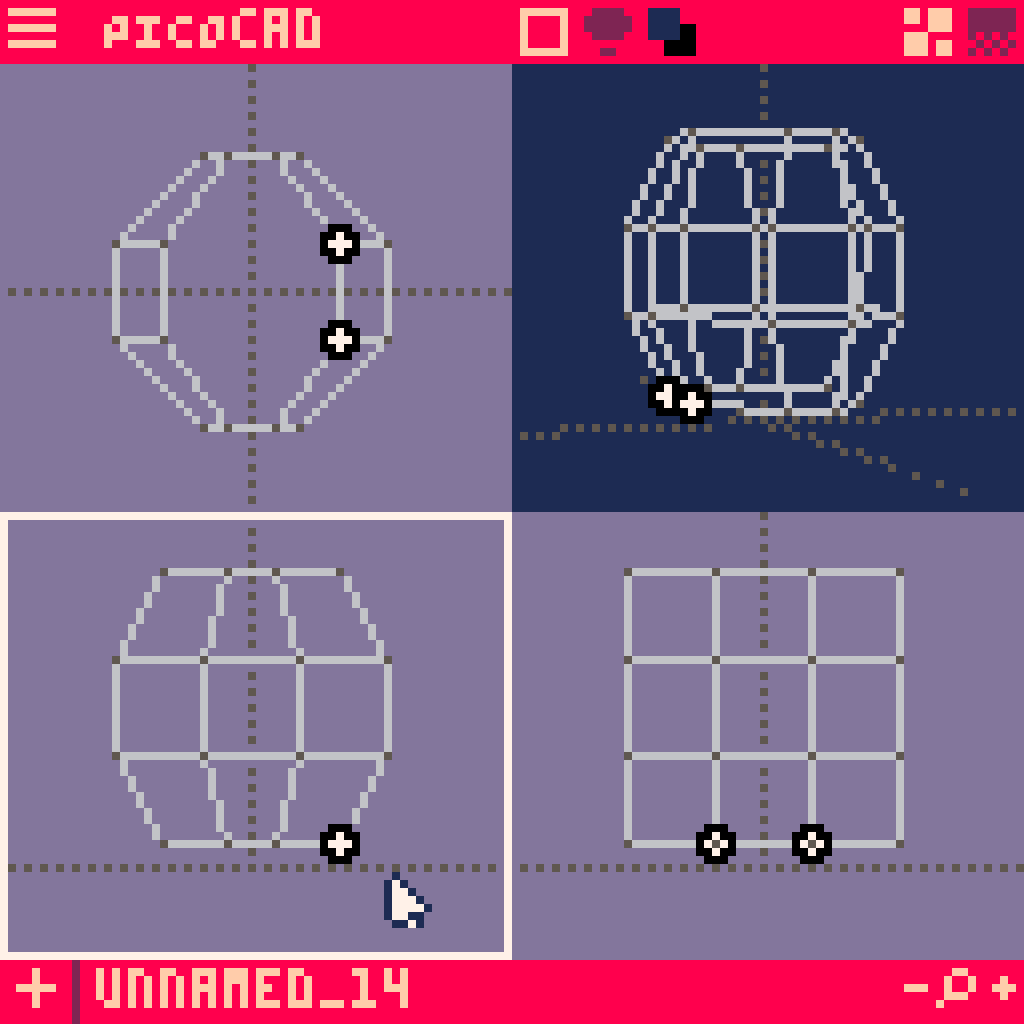
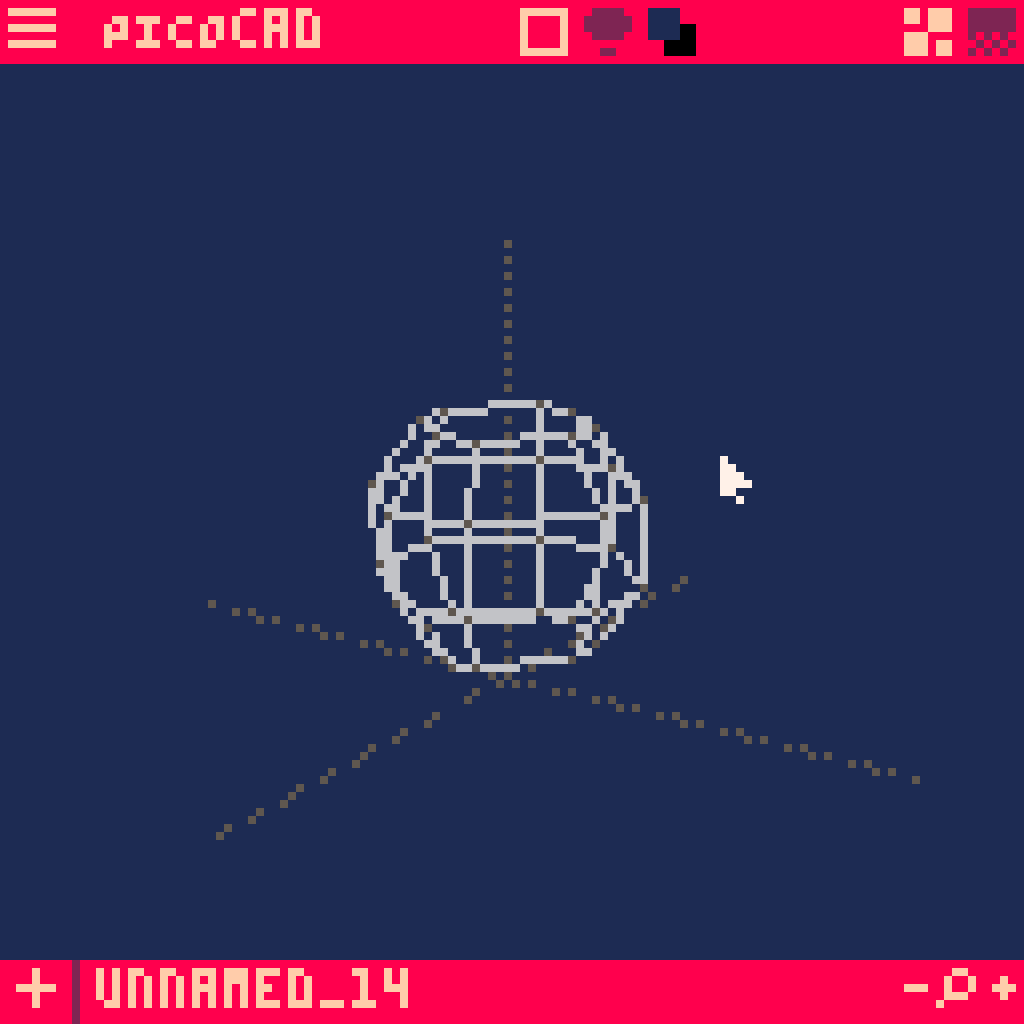
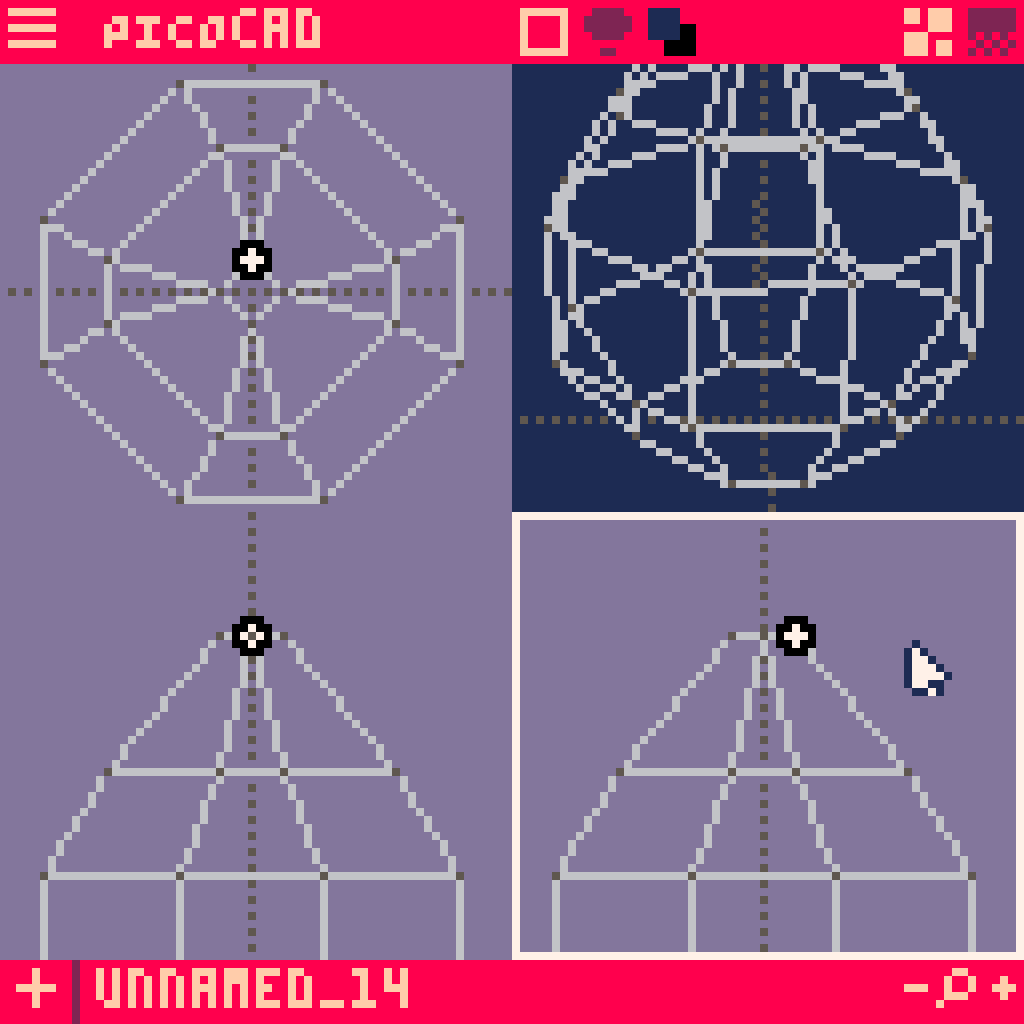
Right click anywhere in the field and add a cylinder.


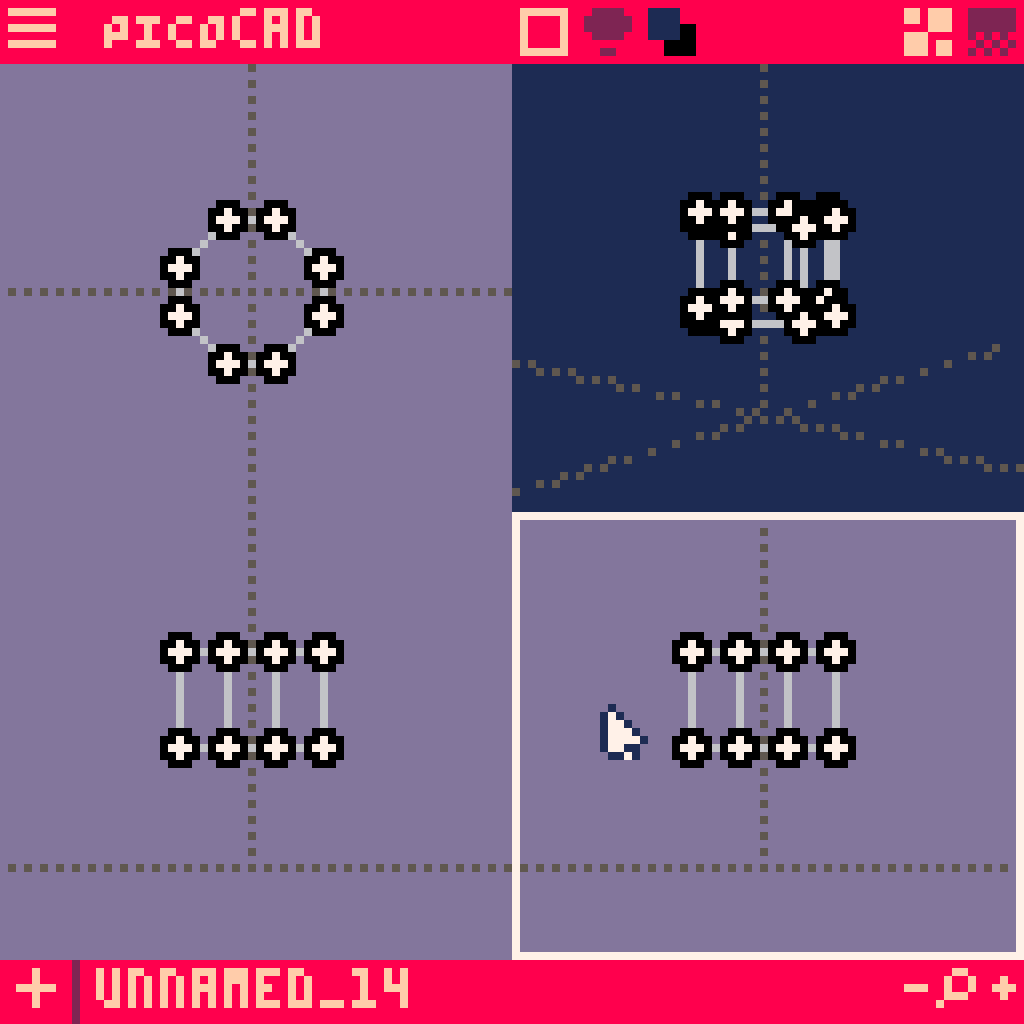
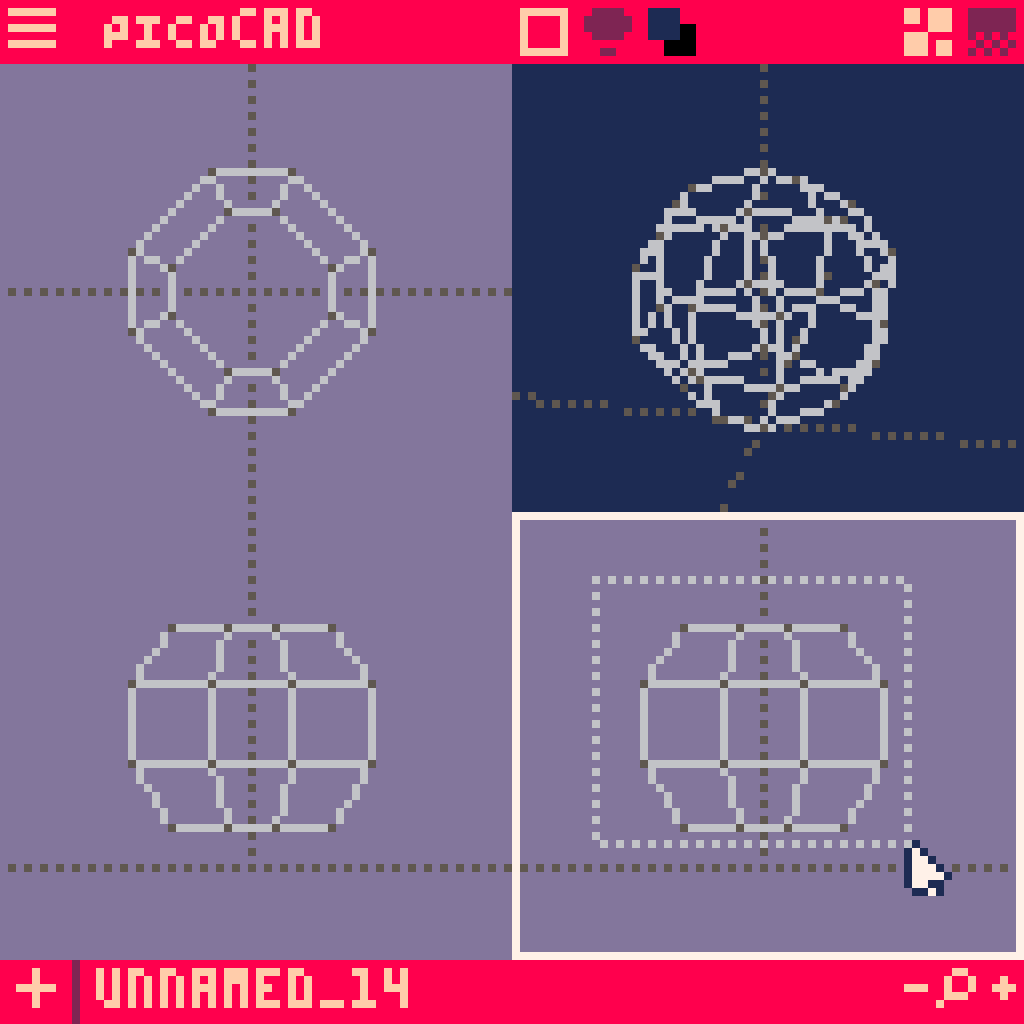
From any viewpoint, hightlight the entire model.
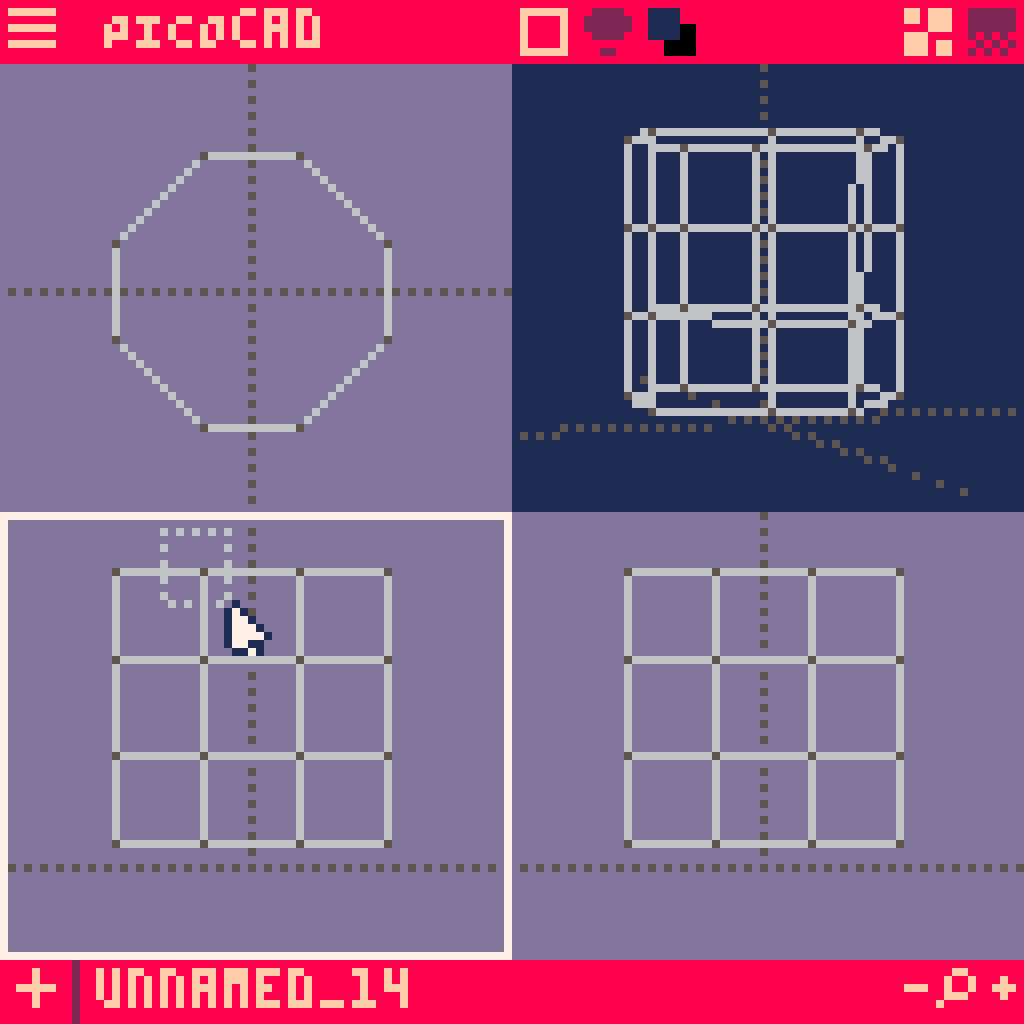
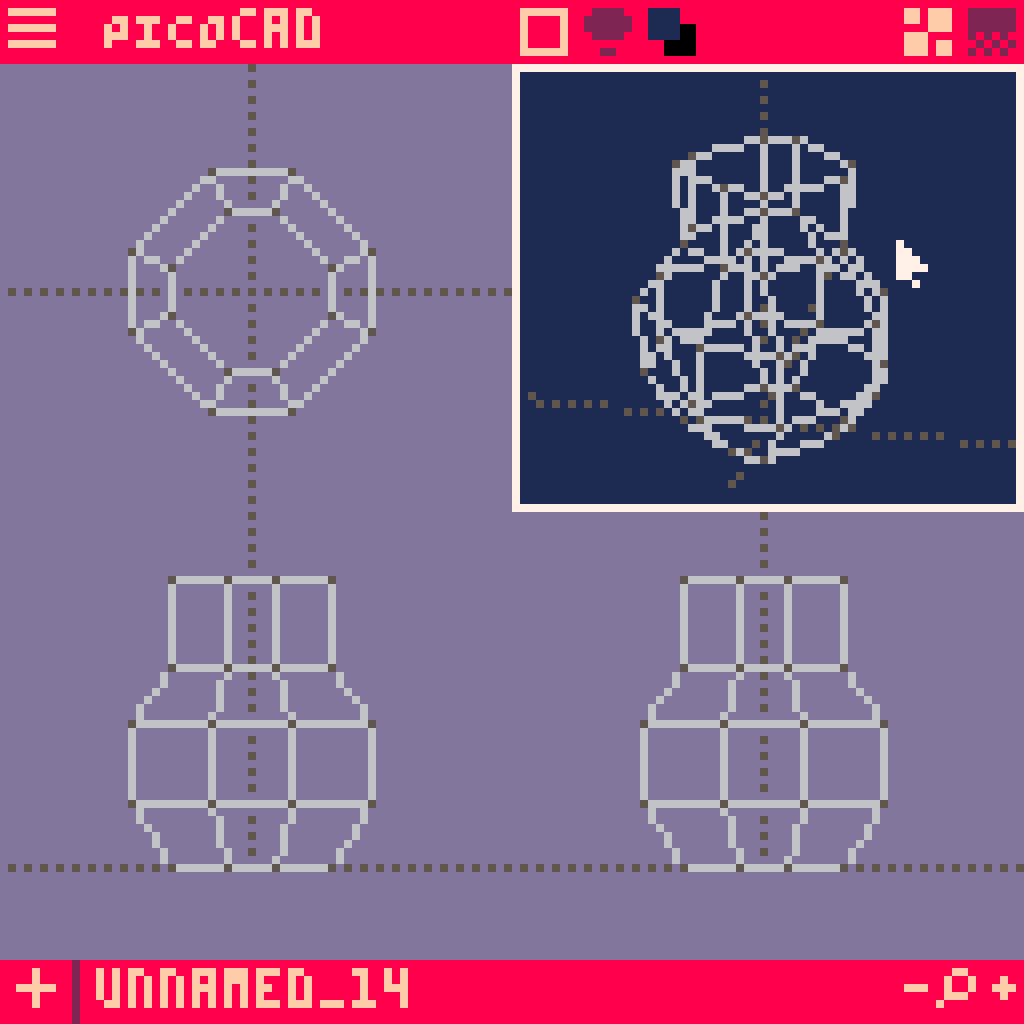
From either the X or the Y-axis viewpoints (bottom two screens), use the arrow keys to move it up a little from the baseline.

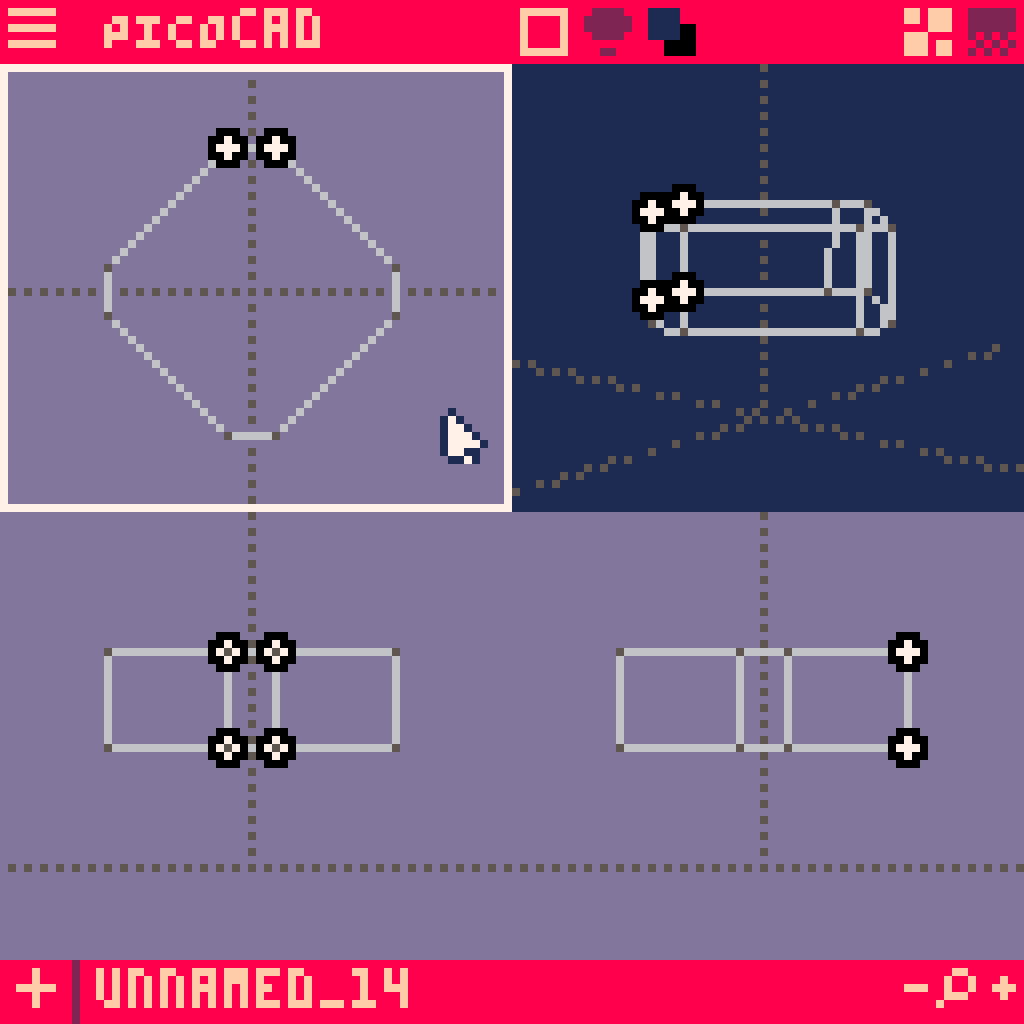
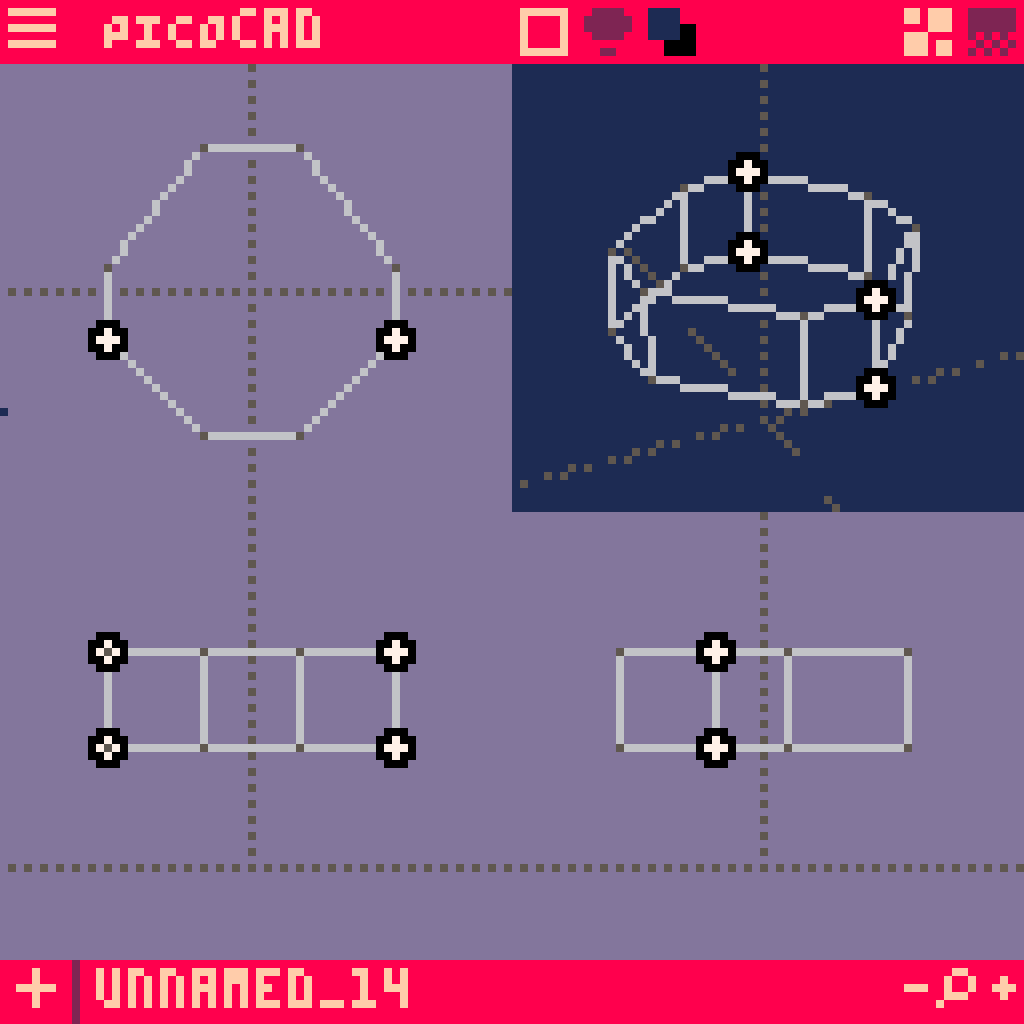
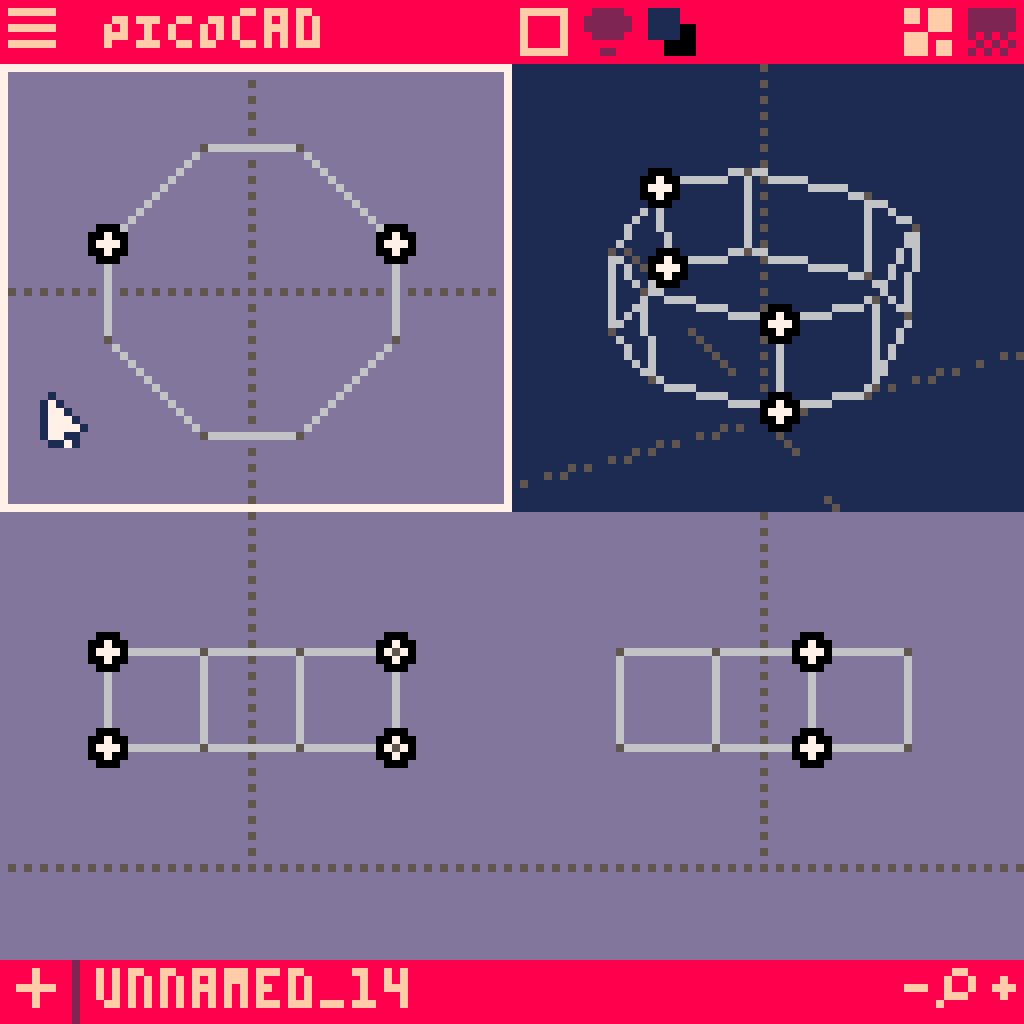
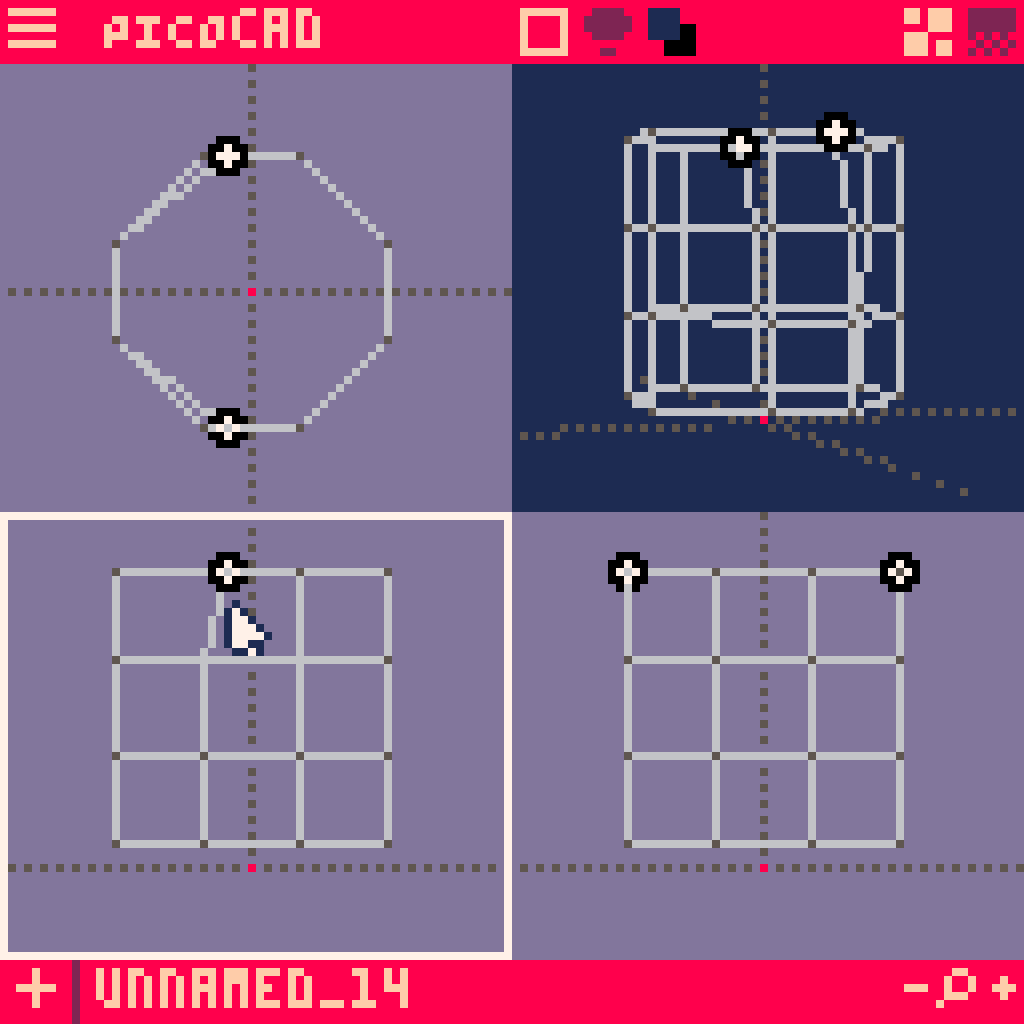
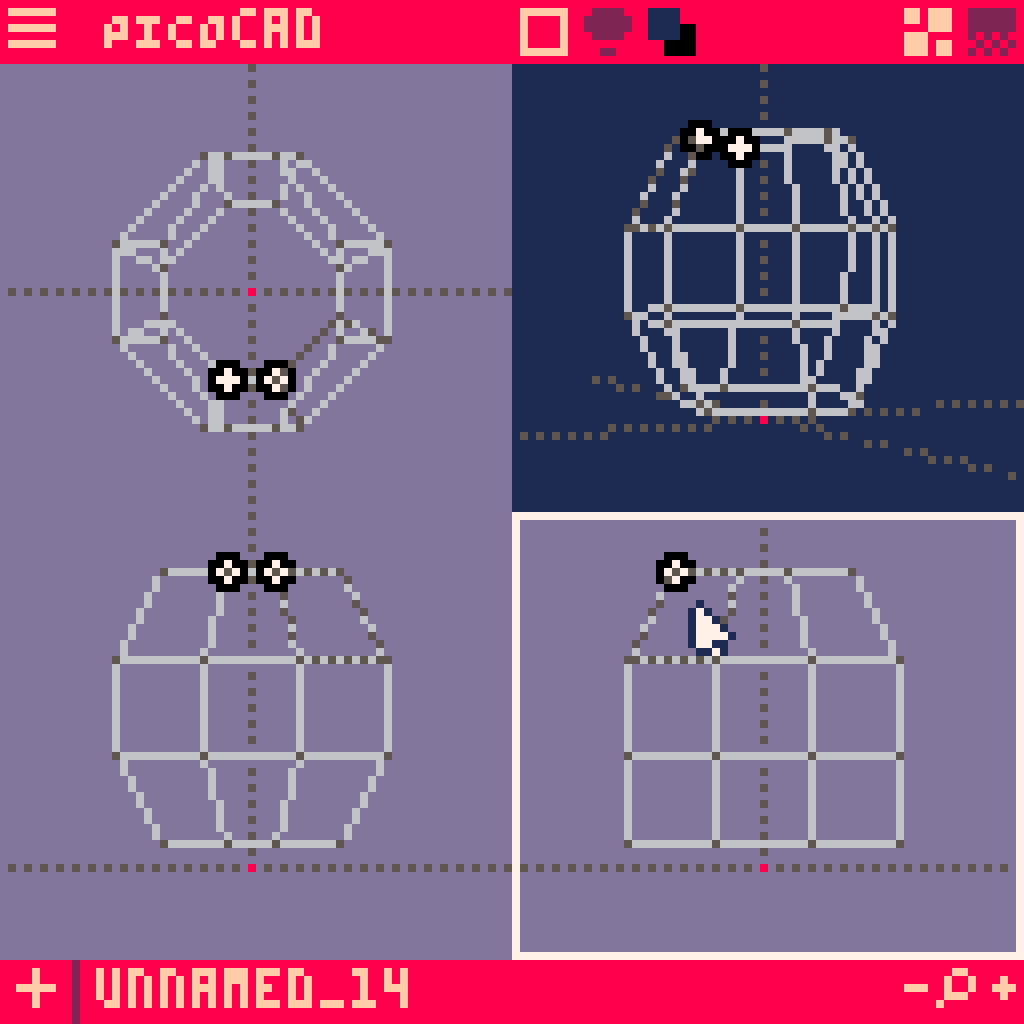
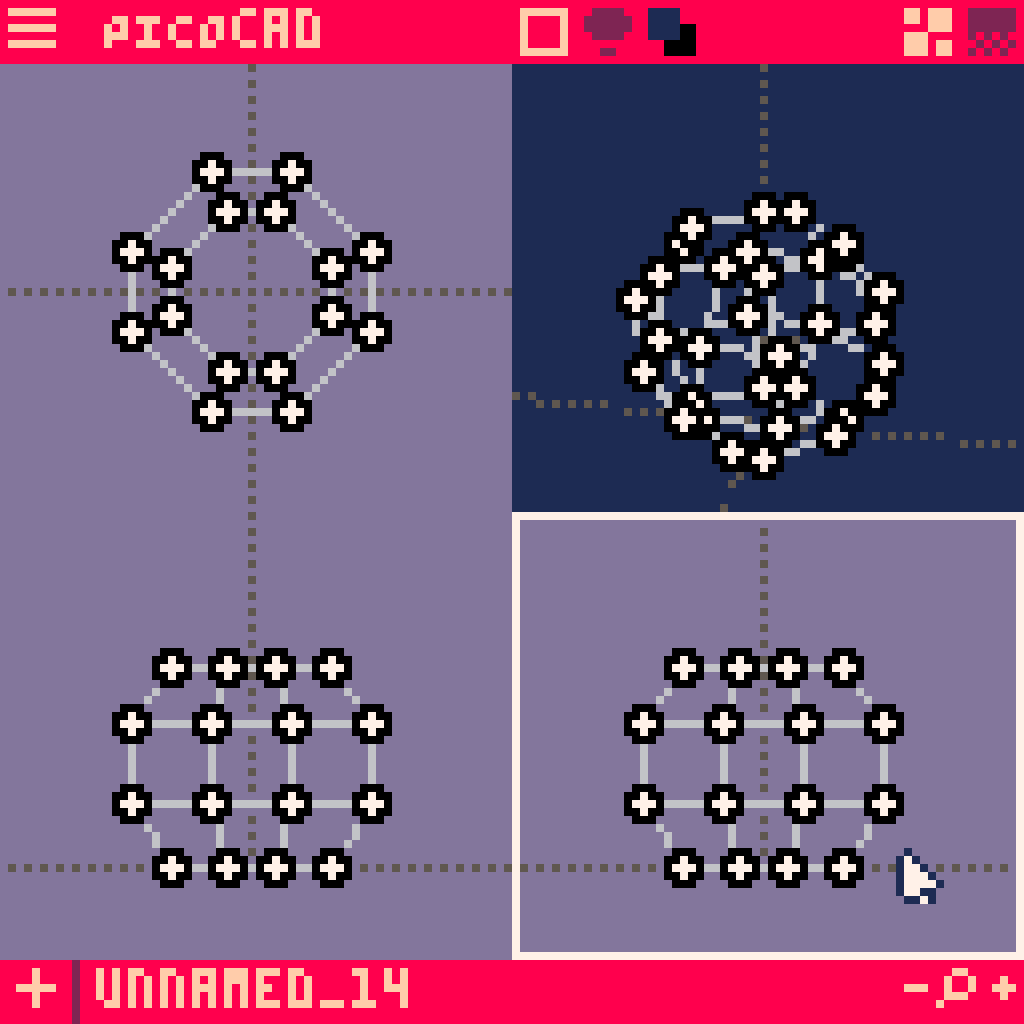
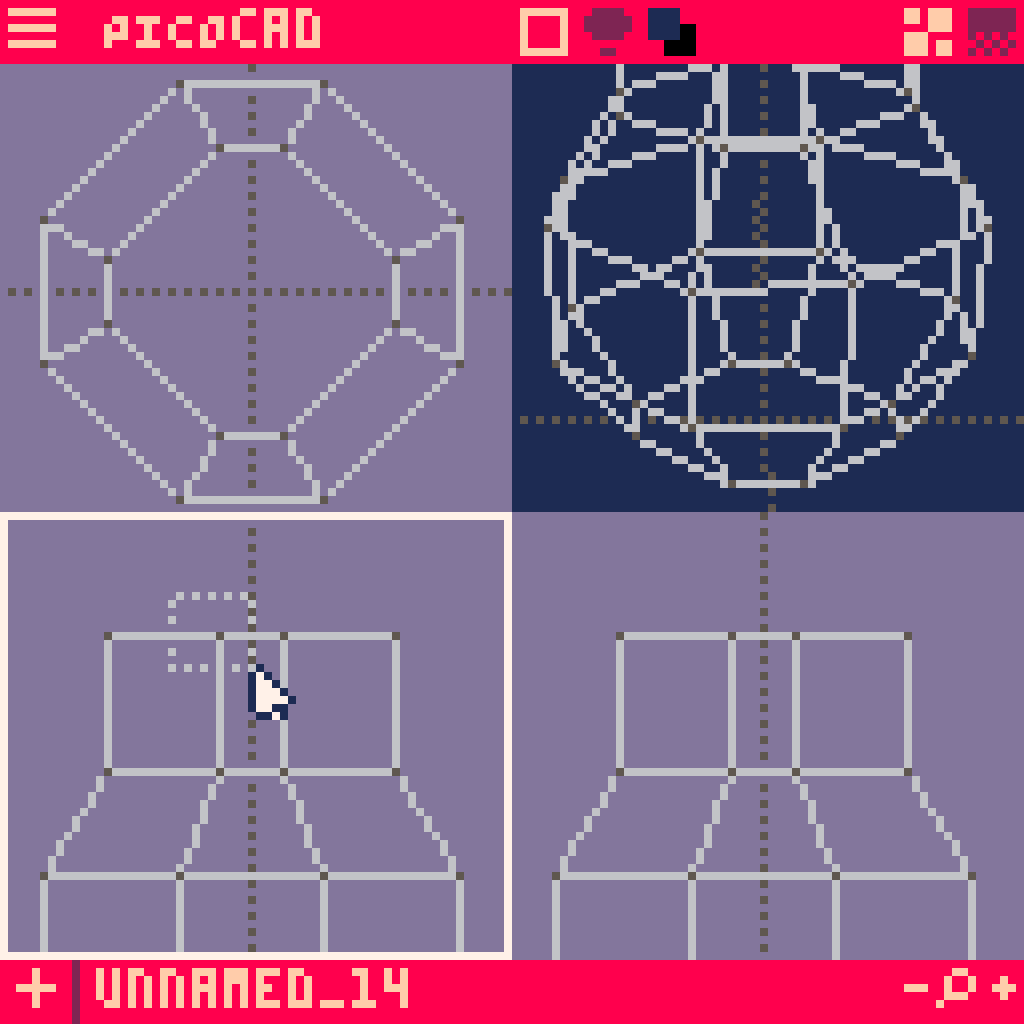
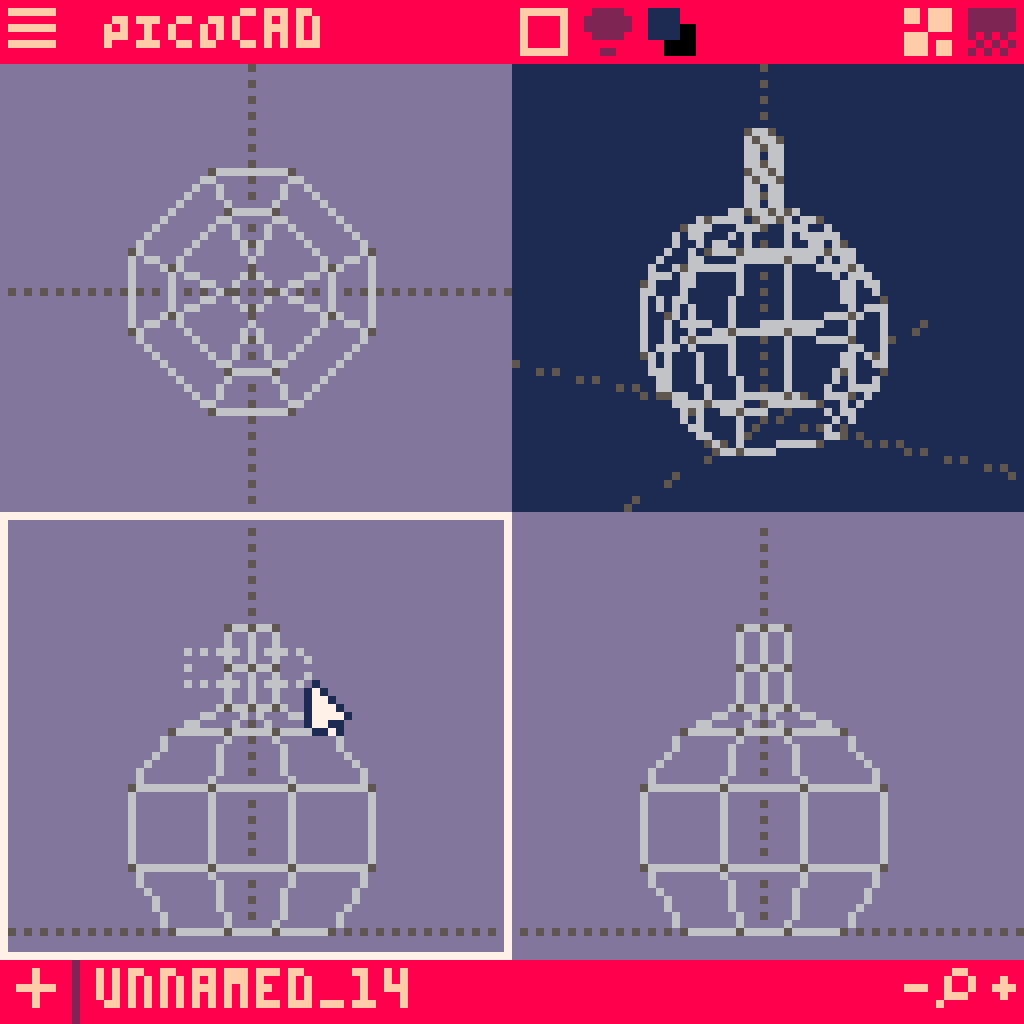
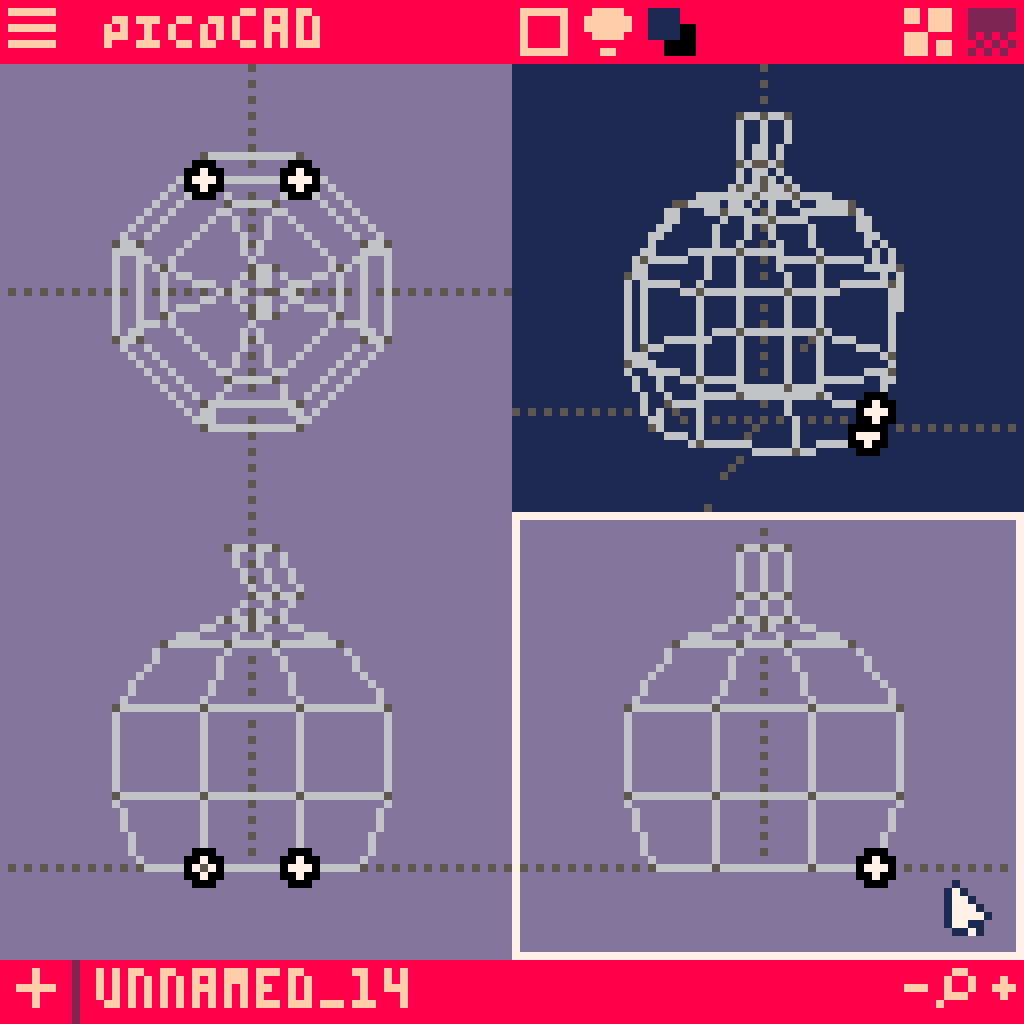
Let's make it a little bigger. One side at a time from the Z-axis viewpoint (top left), highlight the points on the sides of the cylinder, then use the arrow keys to move them a bit from the center. Remember, make sure to drag the mouse and highlight the point, not just click it. That way you get all points within the axis we're viewing and our shape will come out even. You can see which points you've highlited in the 3D view in the top right.

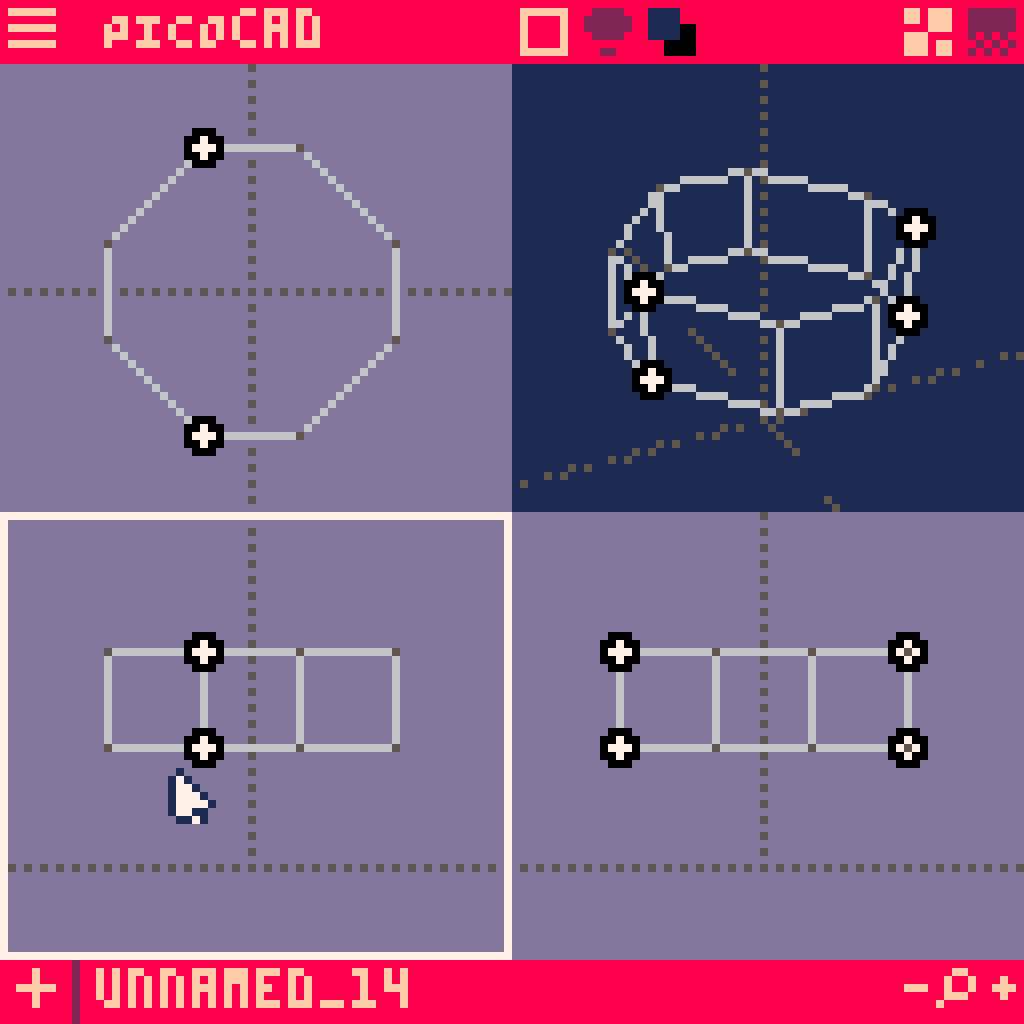
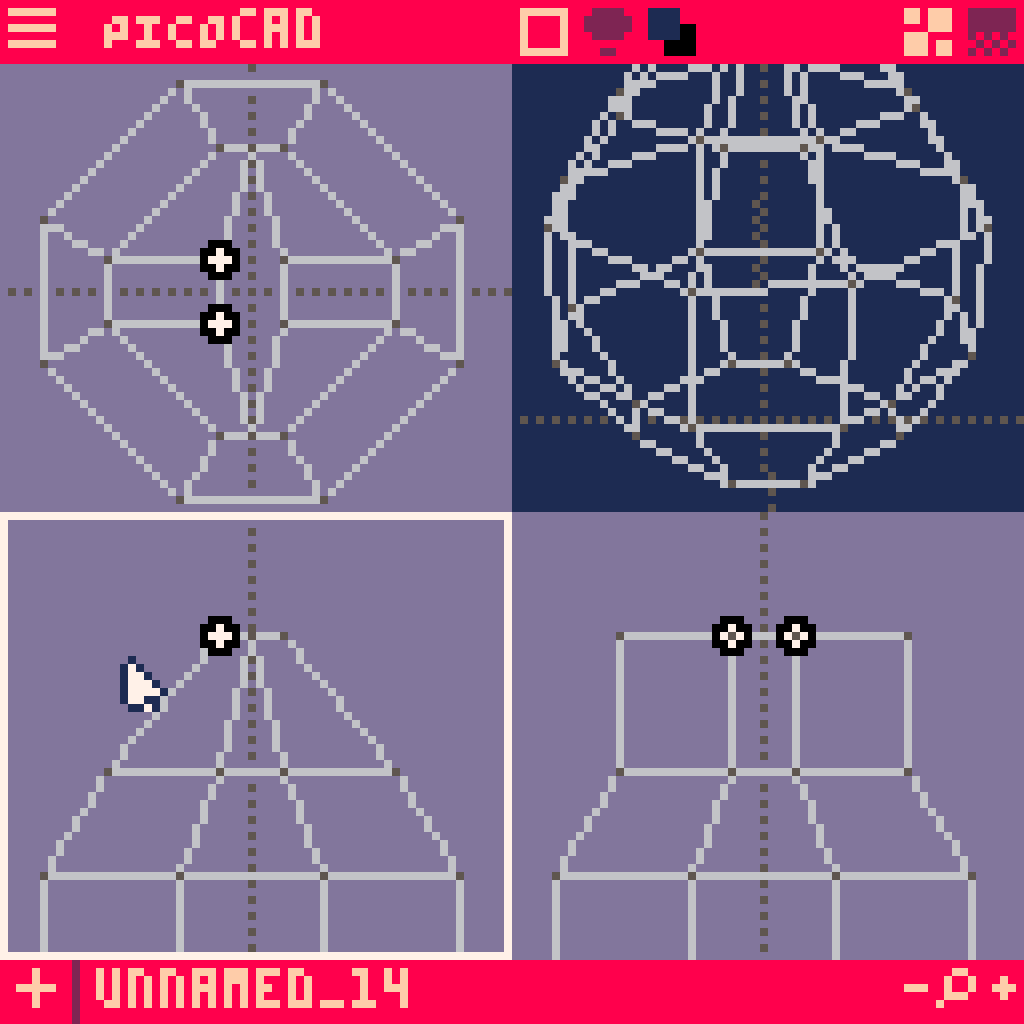
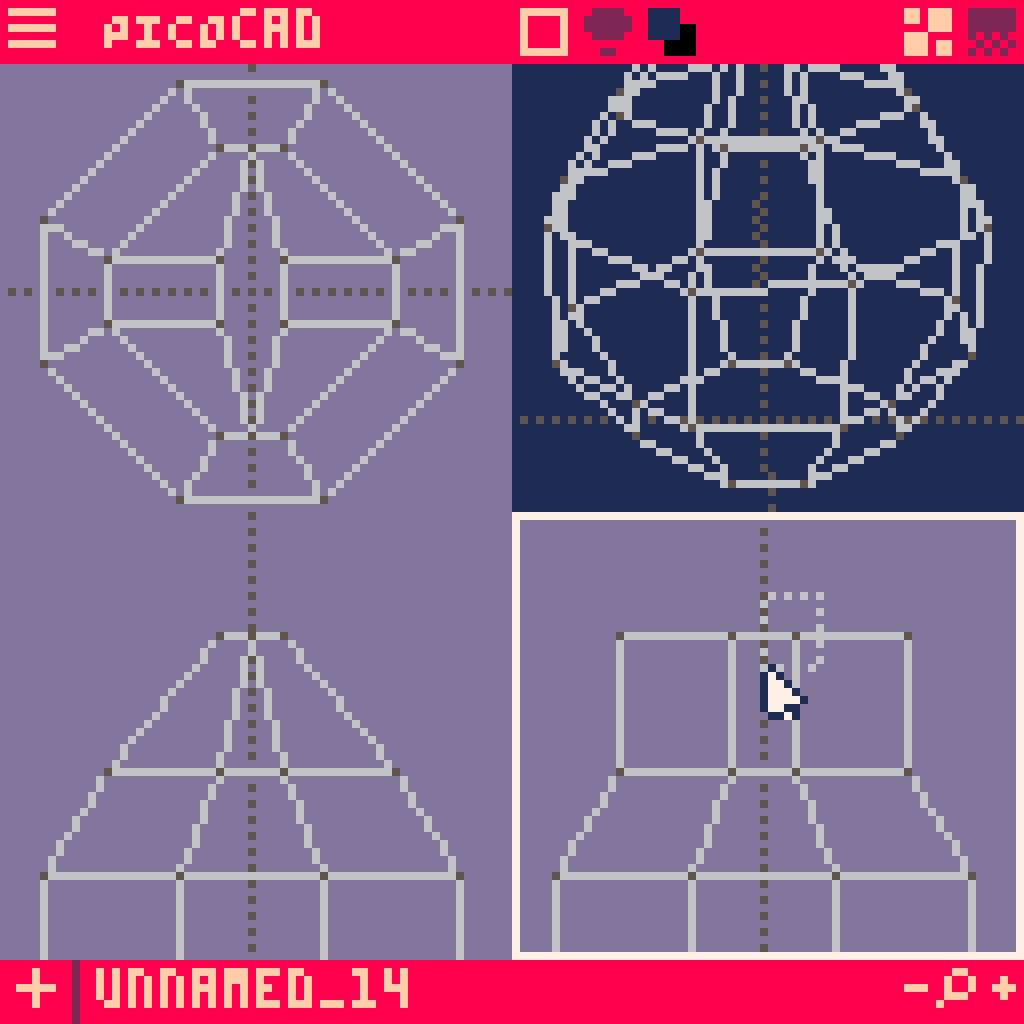
Now, in the X and Y-axis viewpoints, highlight the 2 vertical points in the middle on either side of the center line and move them away from the center. Do this for both X and Y-axis to even out the shape.


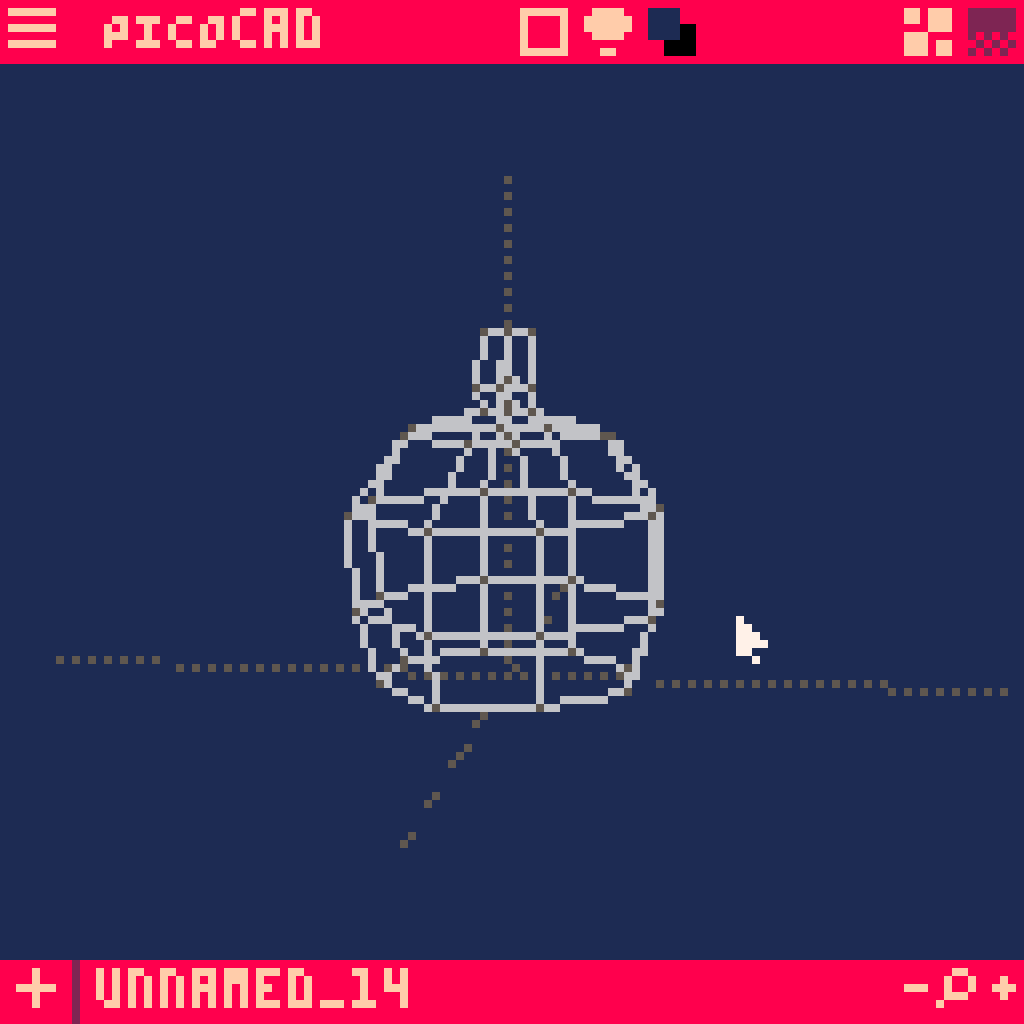
Hover the mouse over the 3D viewpoint (top right) and press Spacebar to get a better view of our progress so far. Use the arrow keys and the mouse wheel to look around and zoom in on the model. Press Spacebar to go back to the modeling view.

SHAPING UP
Let's try and get it looking more like a pumpkin.
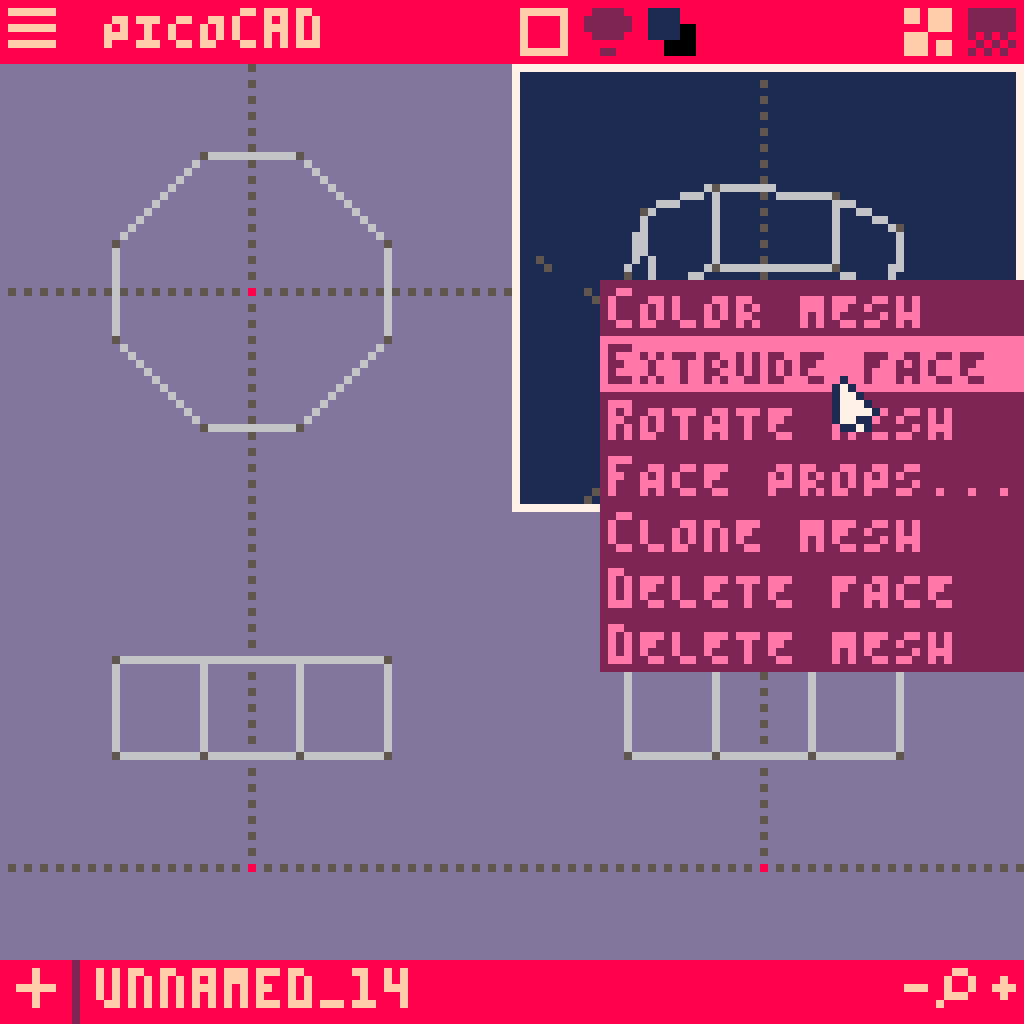
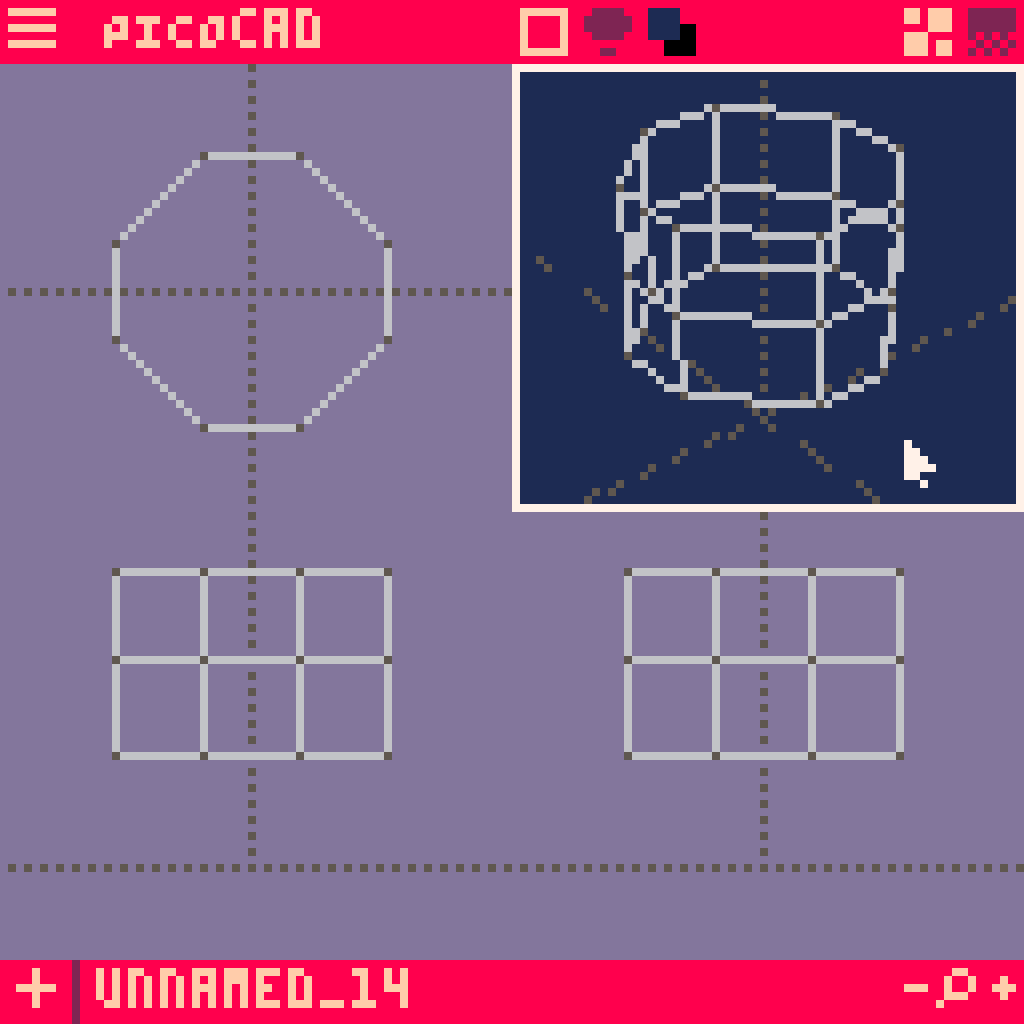
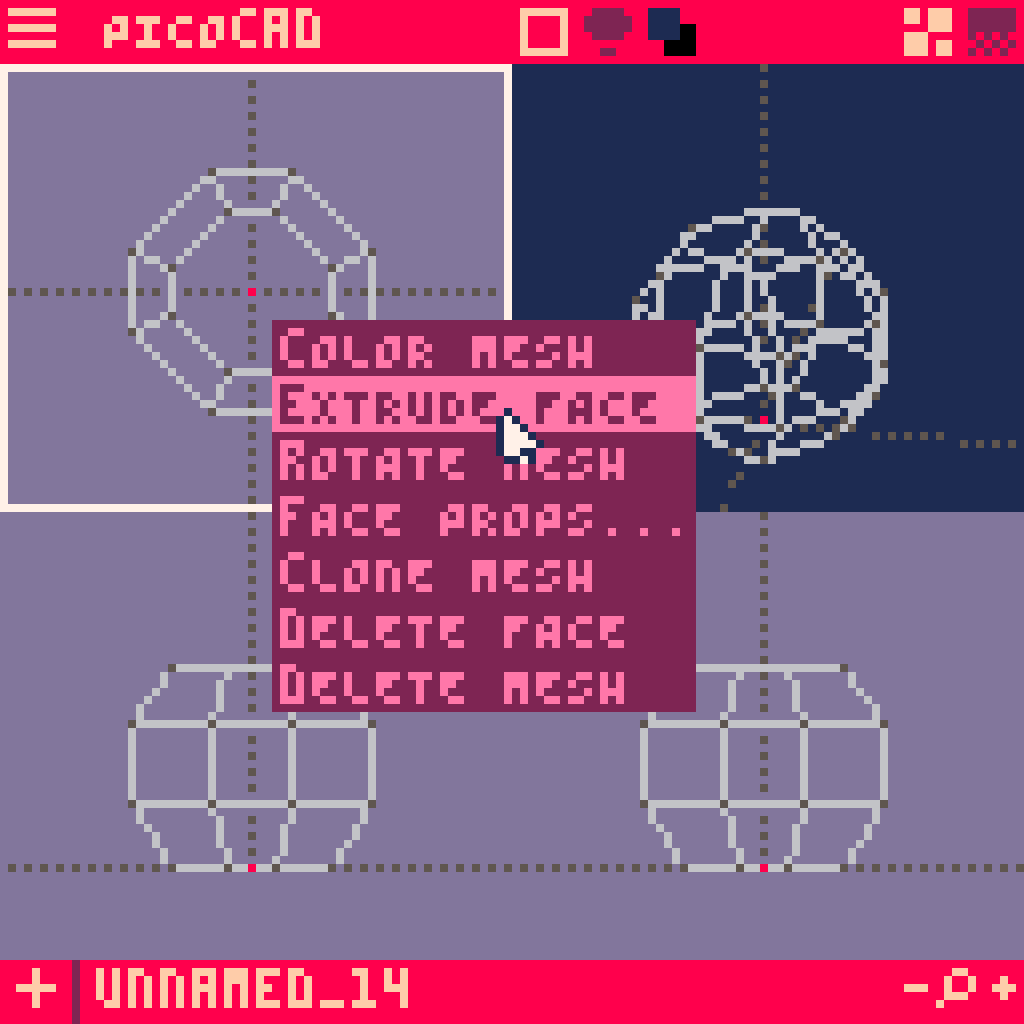
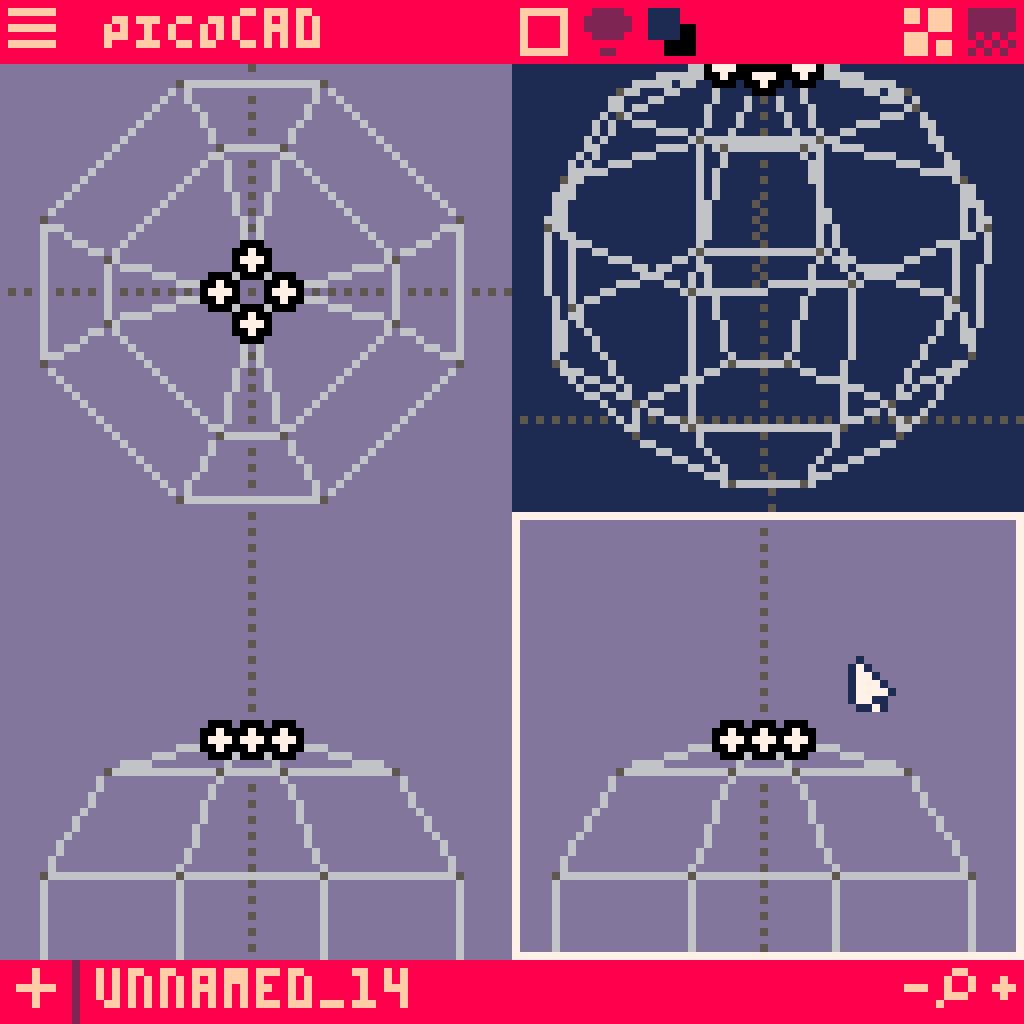
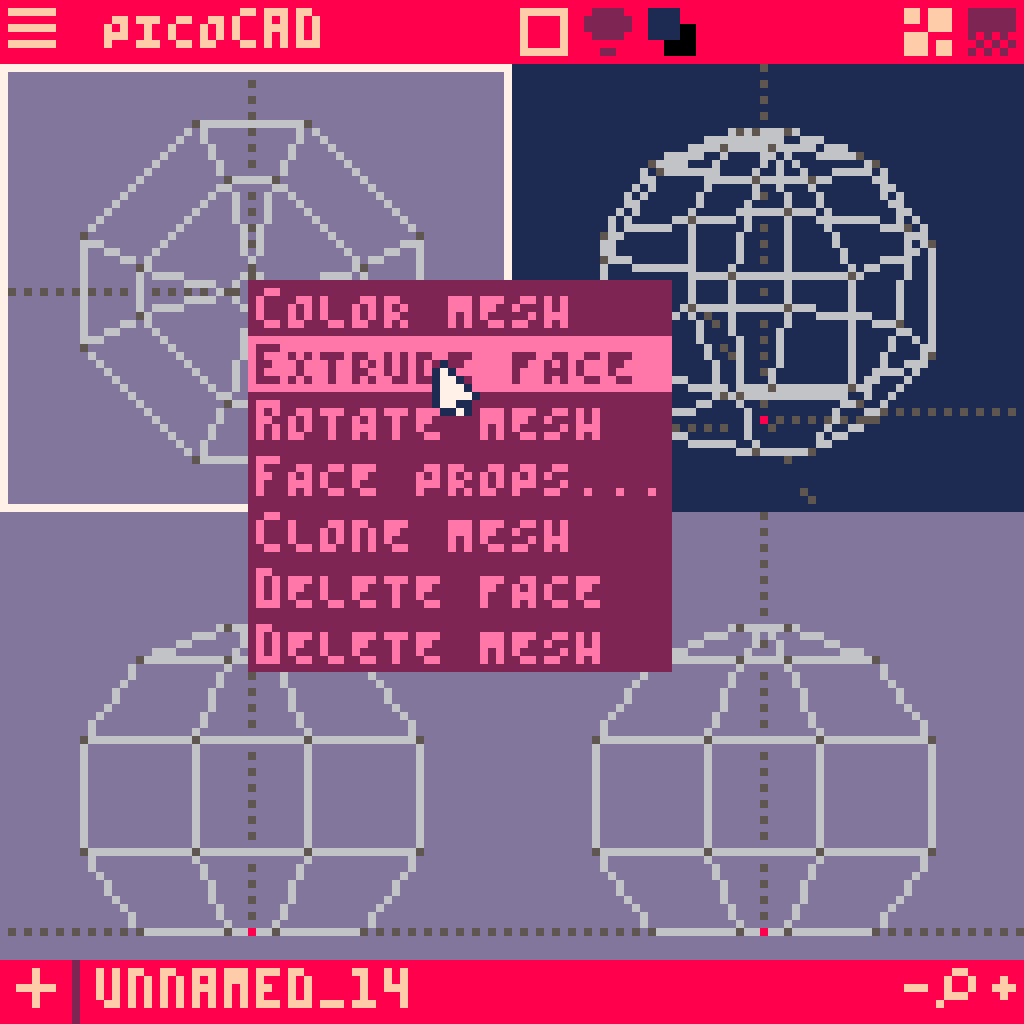
Right click on the top of the cylinder and click EXTRUDE FACE. It'll look like a double stacked cylinder.


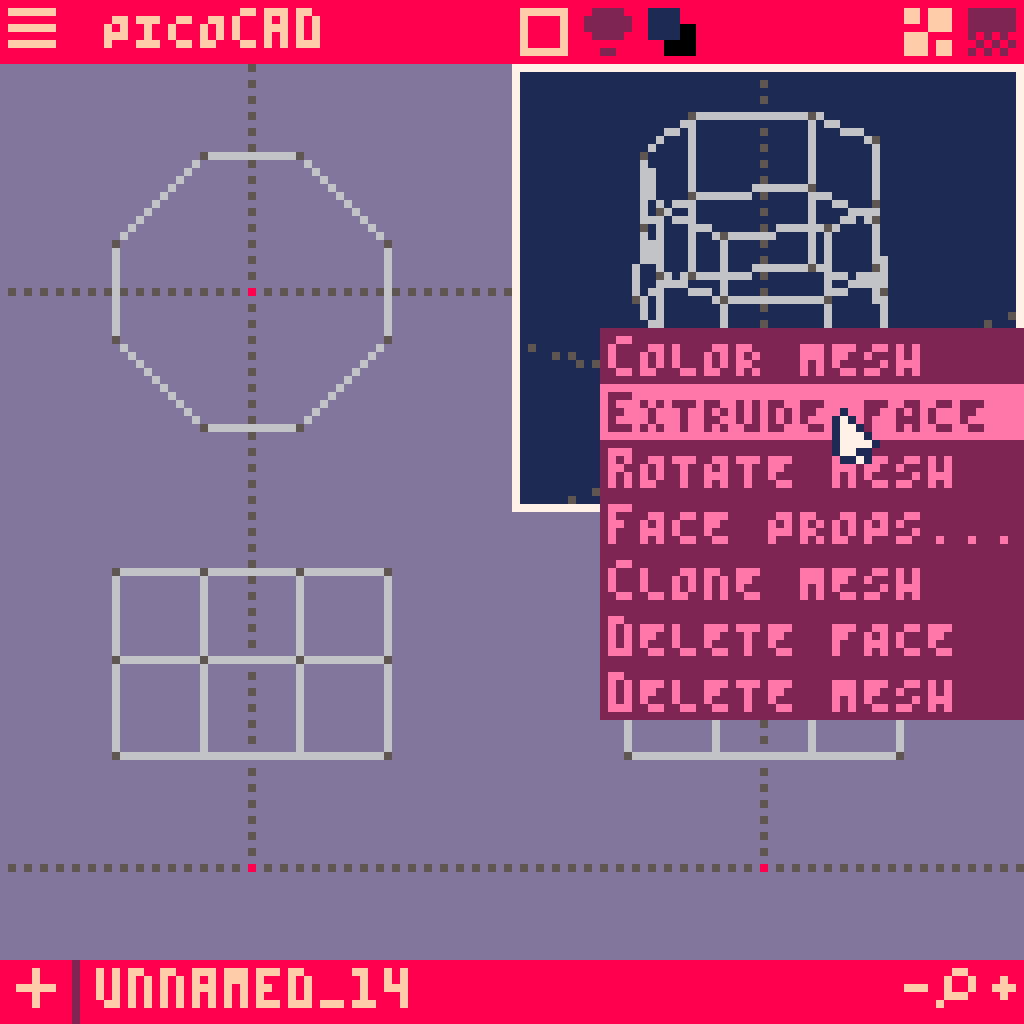
Do the same for the bottom side so it's triple stacked.


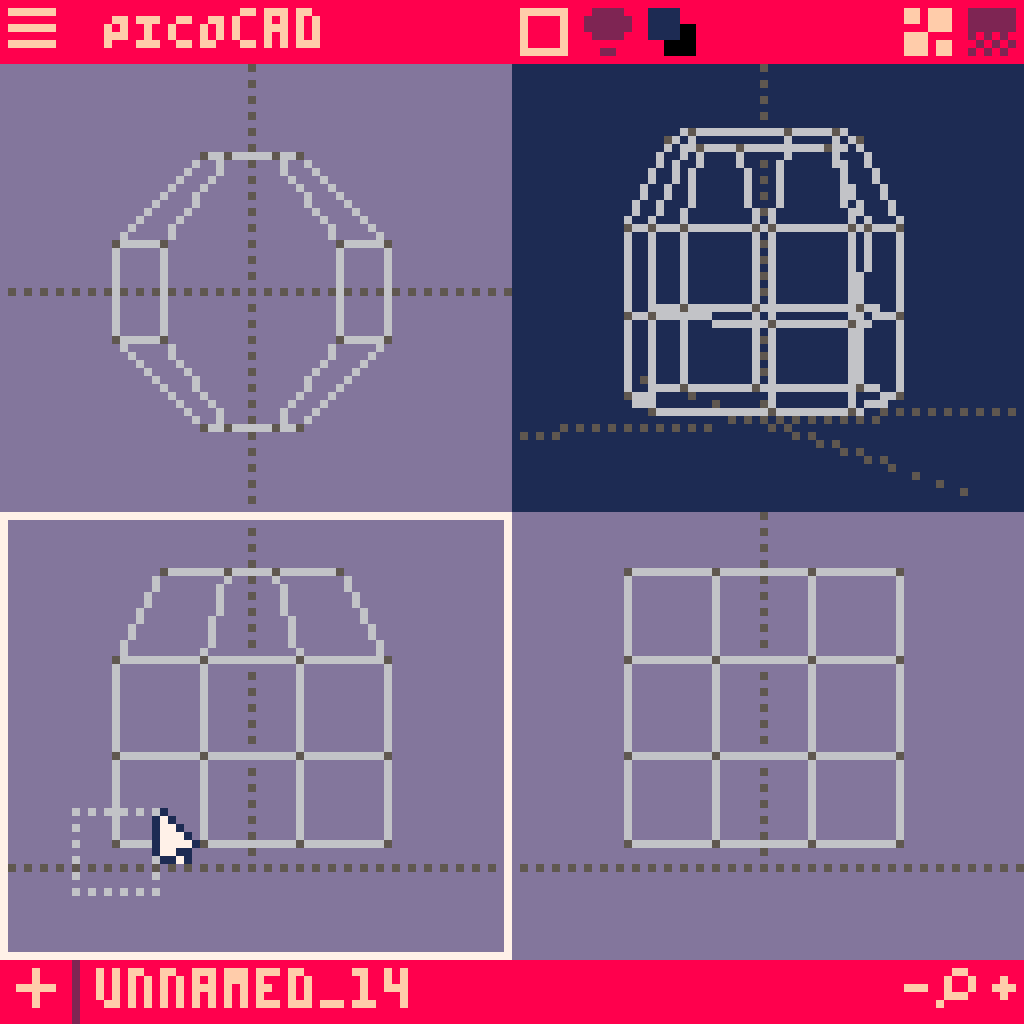
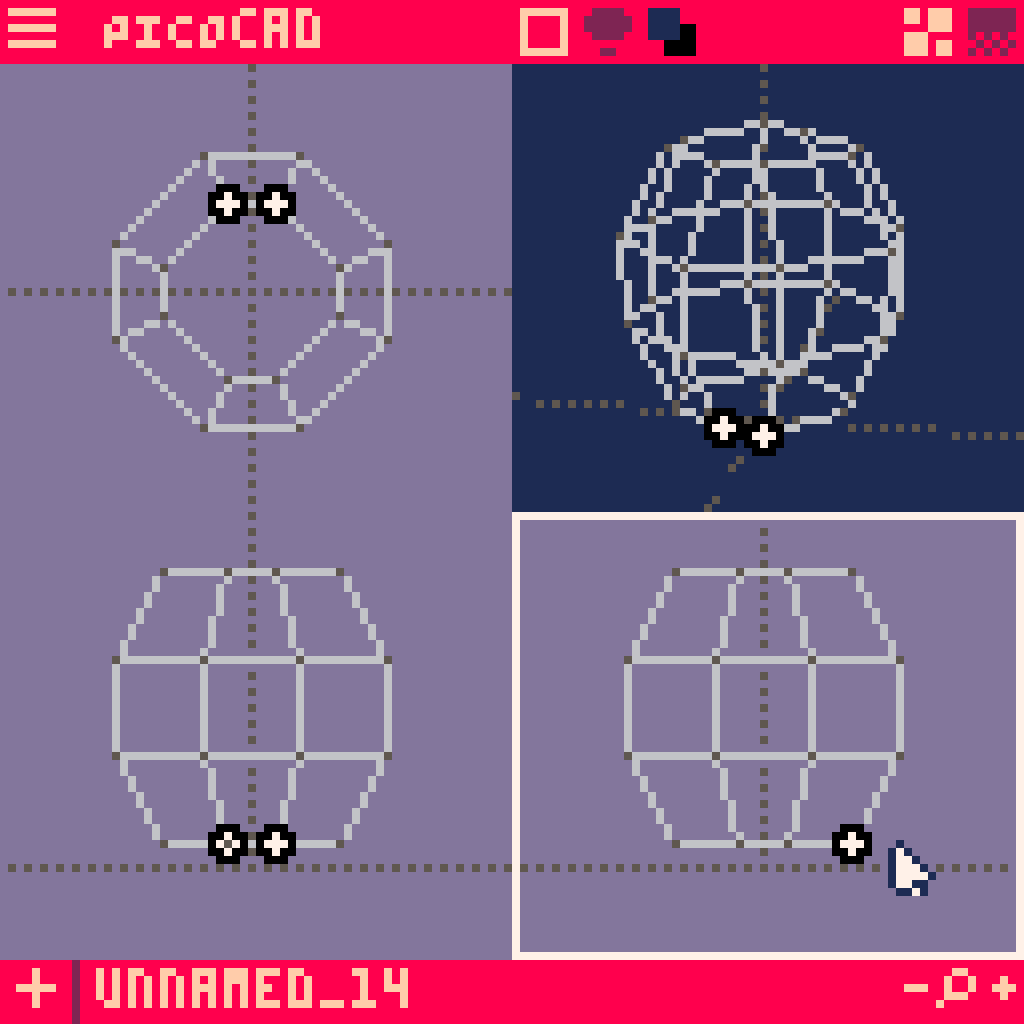
Now, let's focus on the X axis. Highlight points just like we did earlier and bring them towards the center line to make the top and bottom smaller.


And we'll do the same on the Y axis.


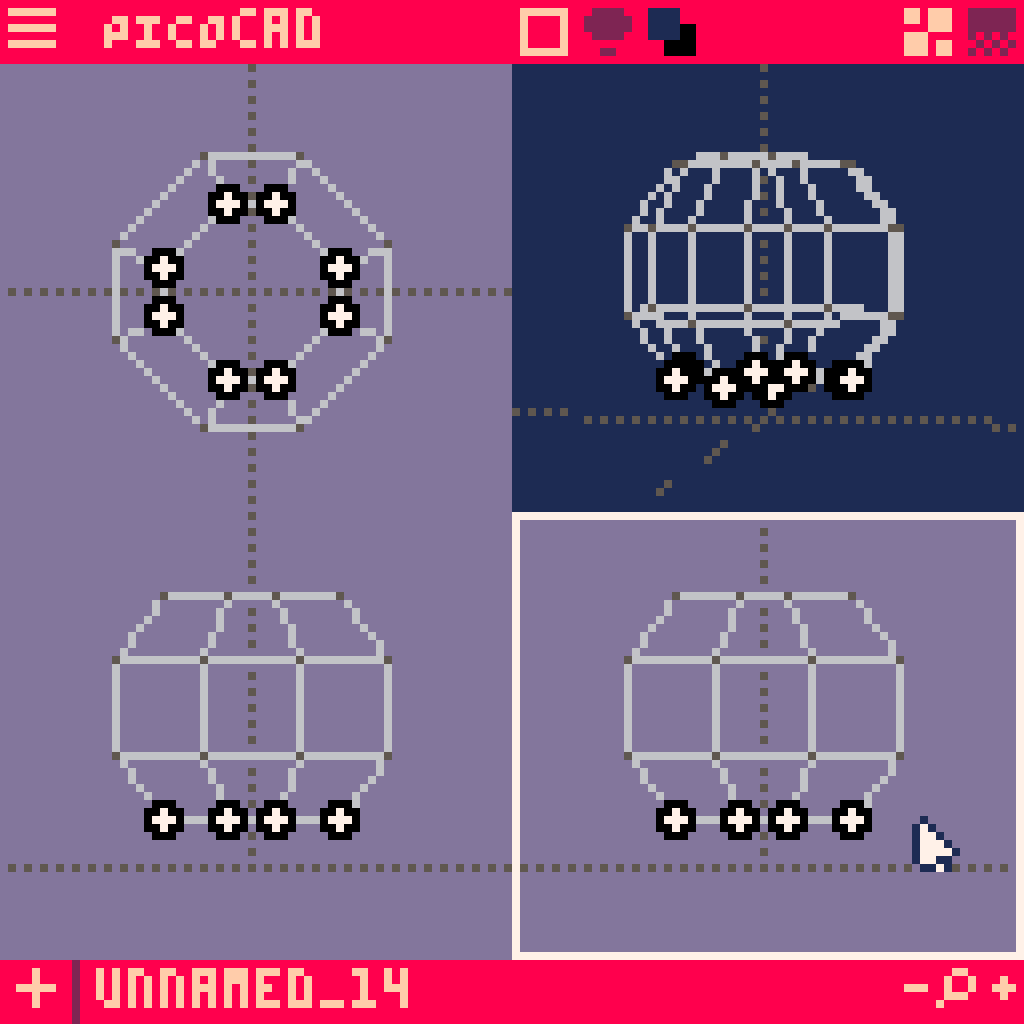
Let's highlight the top and bottom most planes of points and bring them towards the middle.


Hey look! An oblate spheroid!

Hihglight the whole thing on any axis and move the bottom of it down to the baseline.


It's almost looking like a pumpkin now so let's go ahead and add the stem.
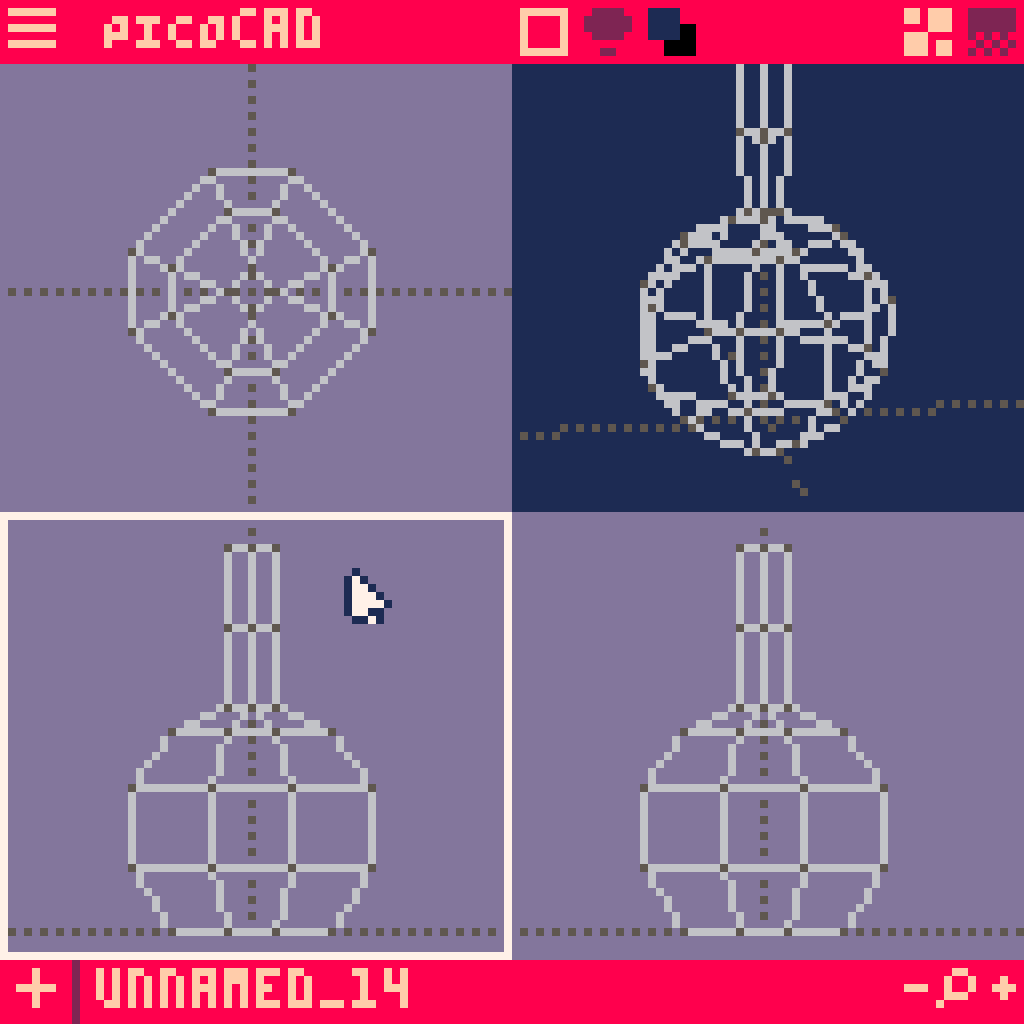
Right click on the top face of the spheroid and extrude it.


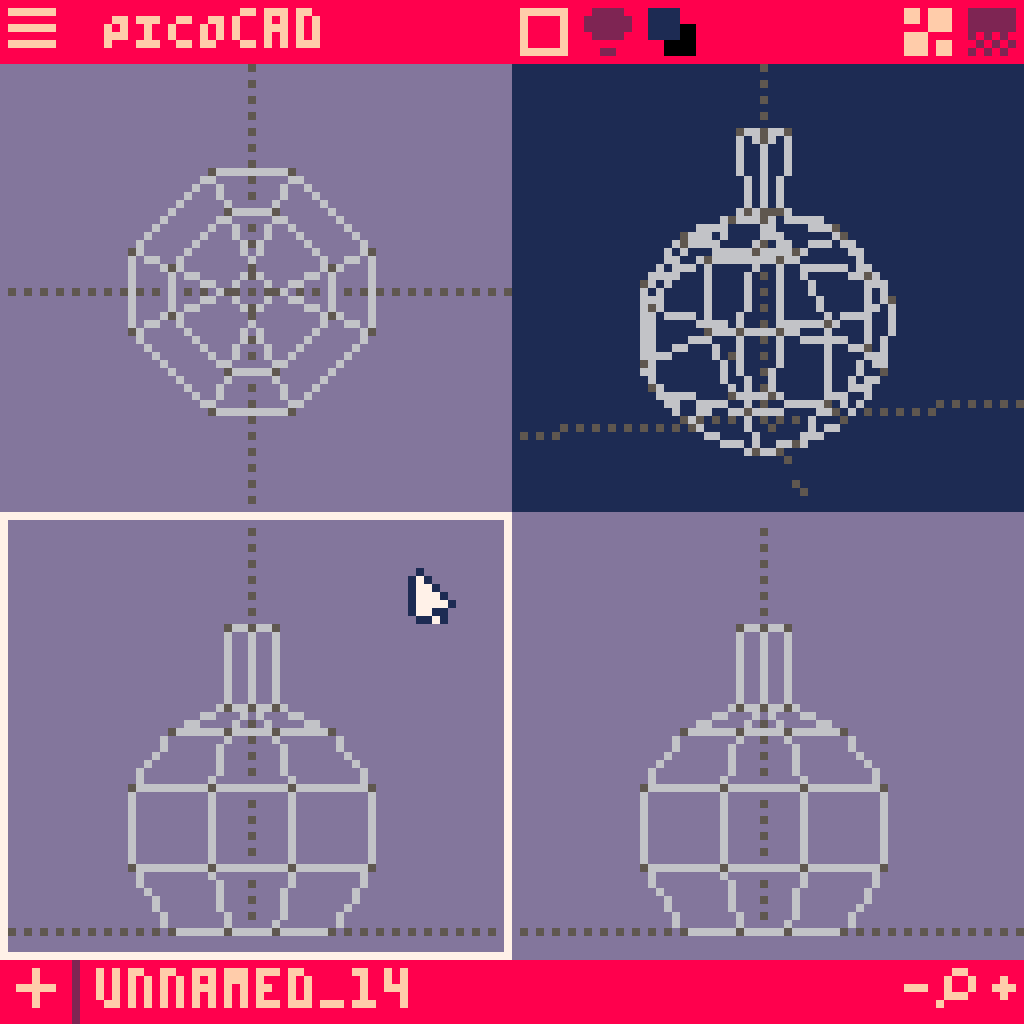
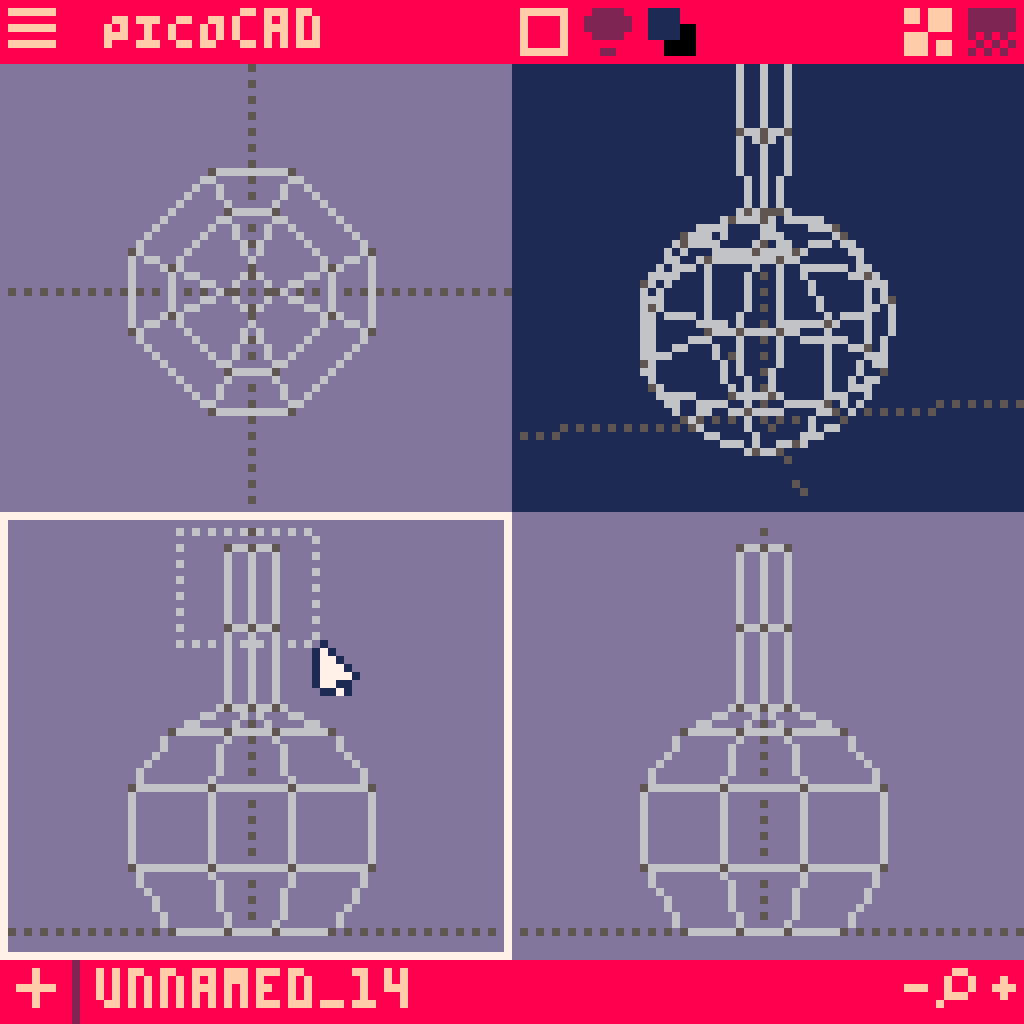
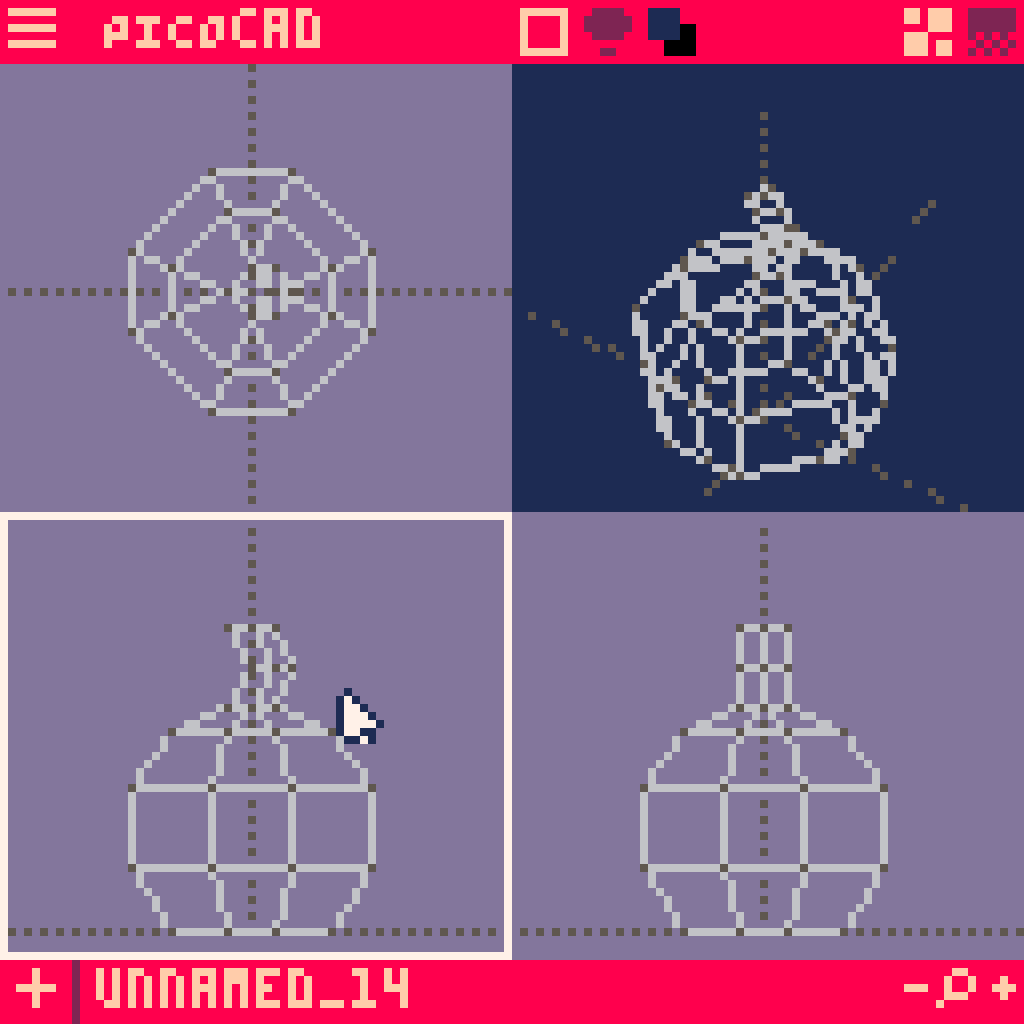
Using the technique from before, highlight the top most points on the X and Y axis viewpoints to resize the top of the shape and get it smaller. Zoom in and use the arrow keys to move the camera and get a better view.


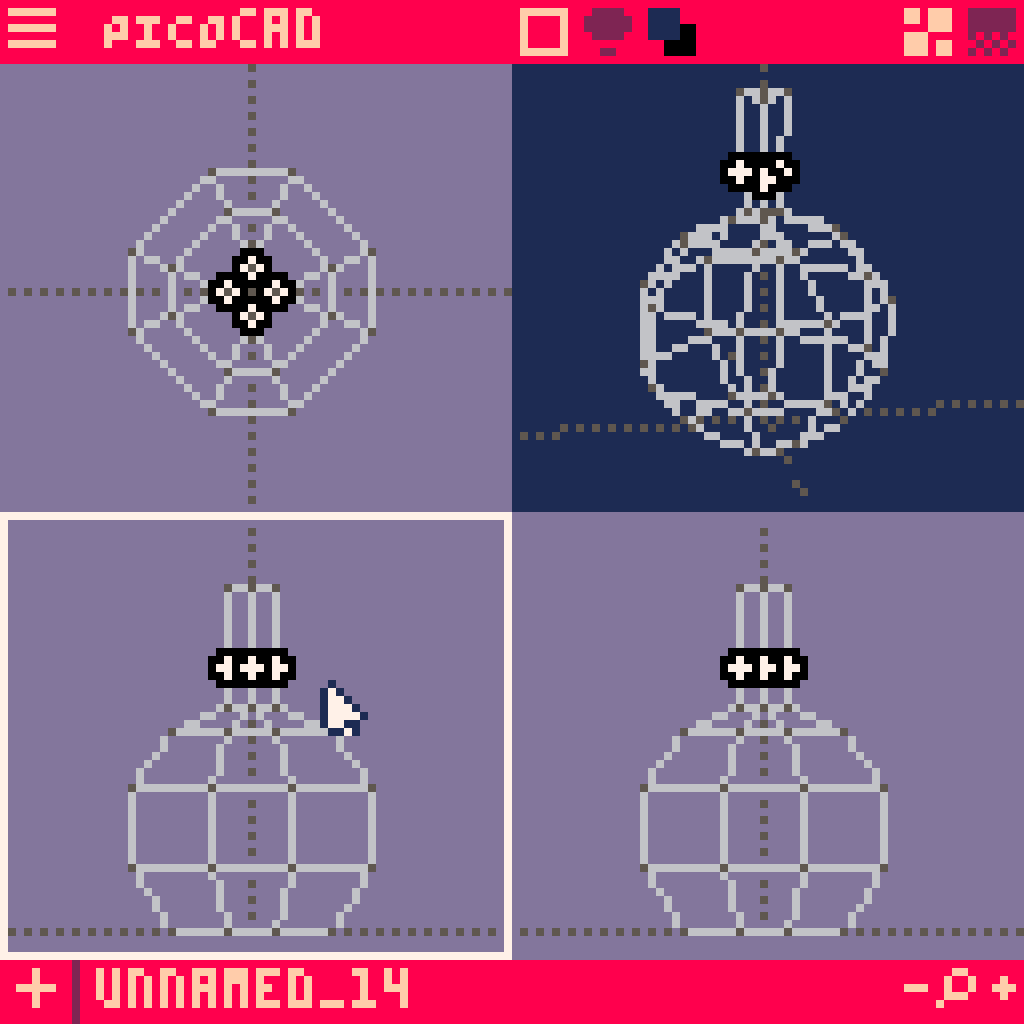
And highlight all the points at the top and move them way down.


And let's extrude the top again...


And again!

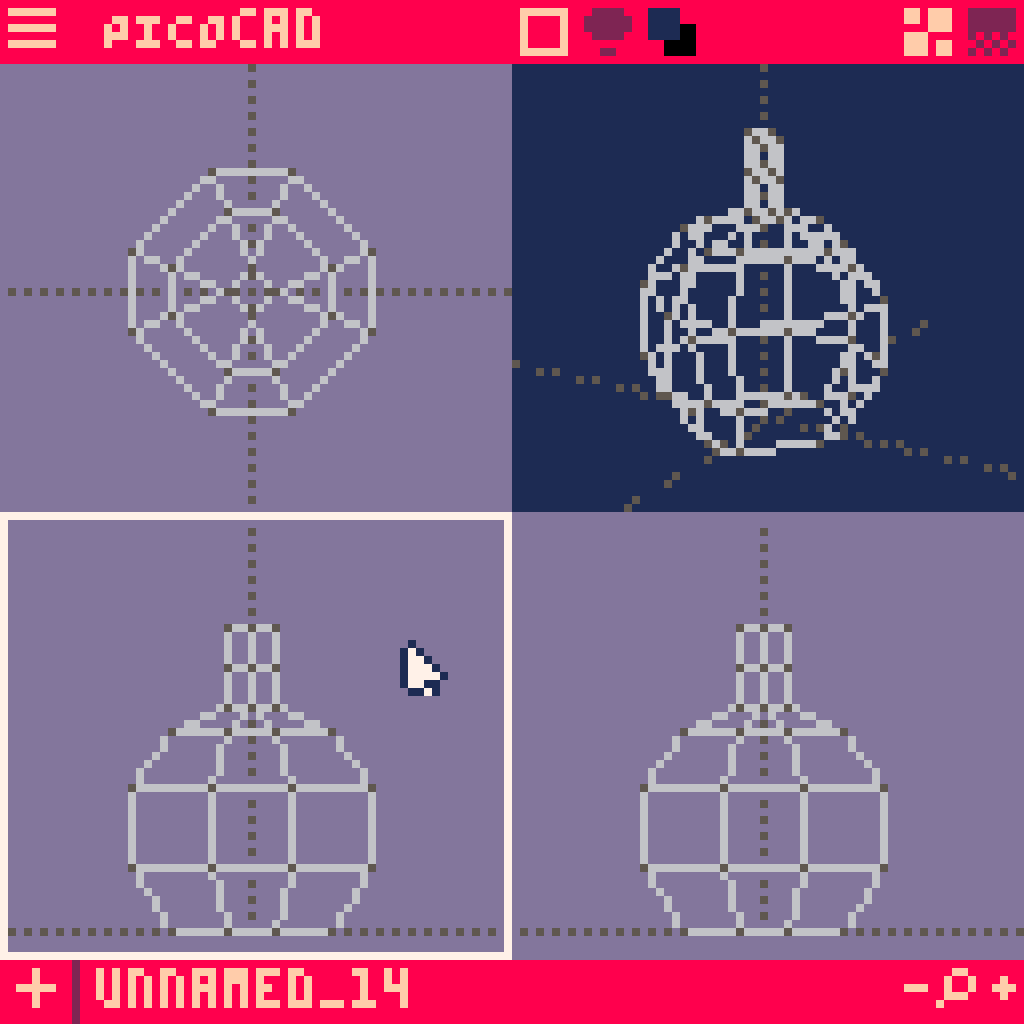
Resize those shapes a bit...


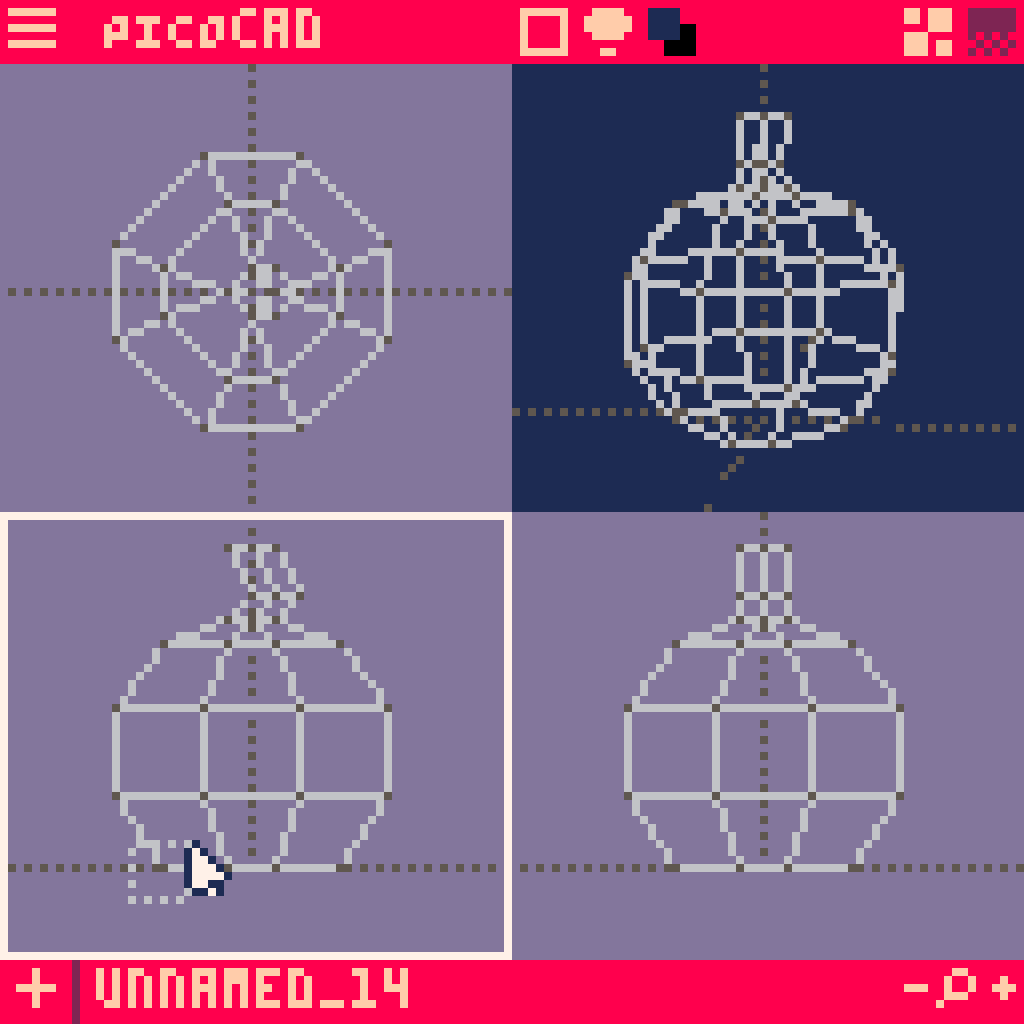
And add a little character...


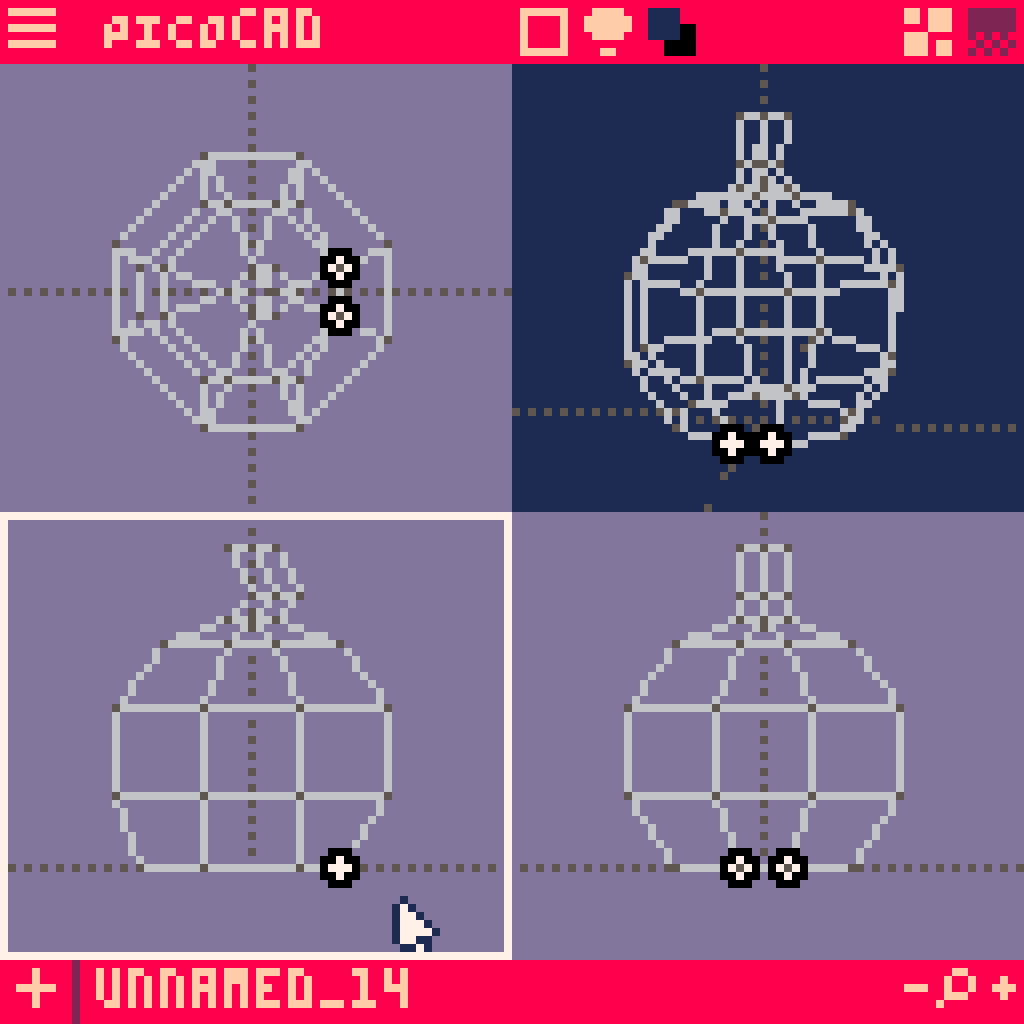
I'd like the bottom to be a bit more squat, so let's push all the bottom points out from the center.


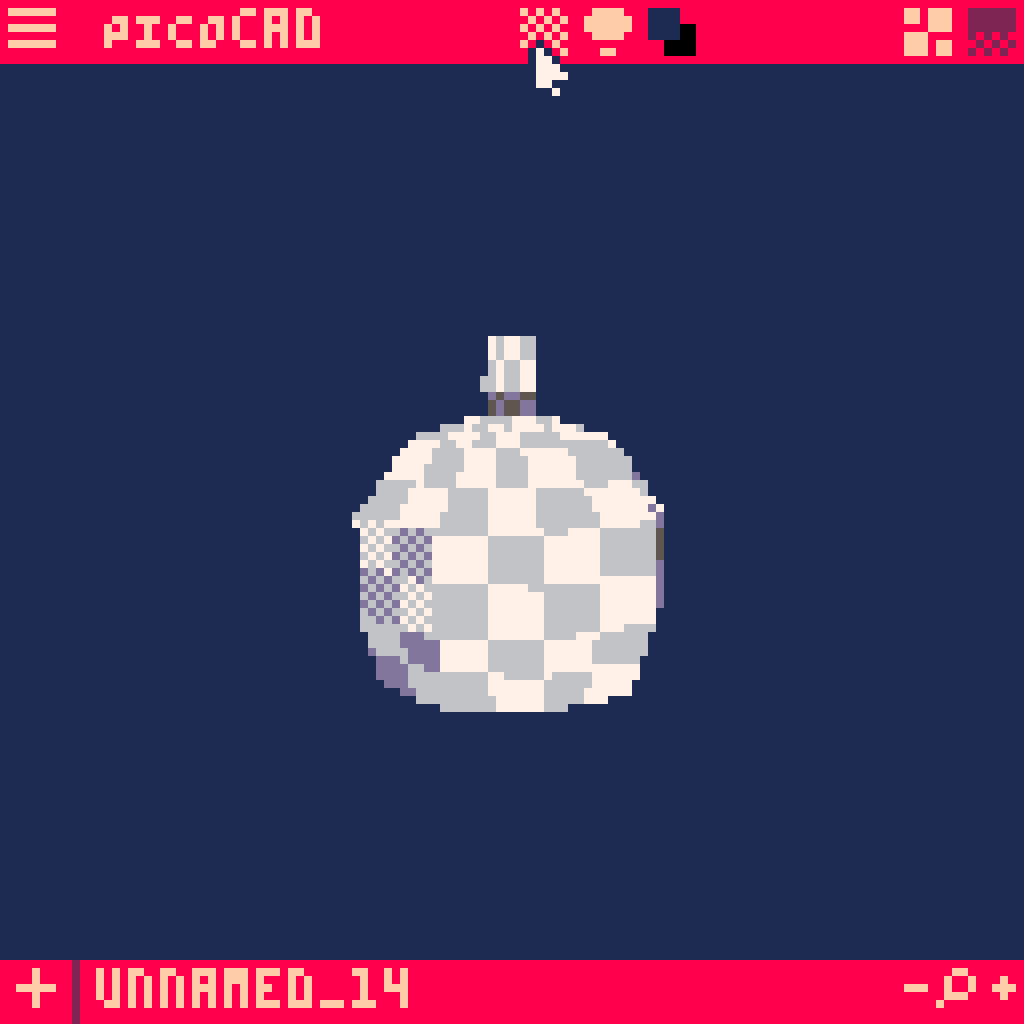
I think that about does it for the shape! Let's get a preview of what it'll look like with a bit of texture.
Press Spacebar over the 3D viewpoint to get a bigger view...

...then click the box up at the top until it turns into a checkerboard pattern. Cool! Use the arrow keys to turn our pumpkin shape around and get a good look.

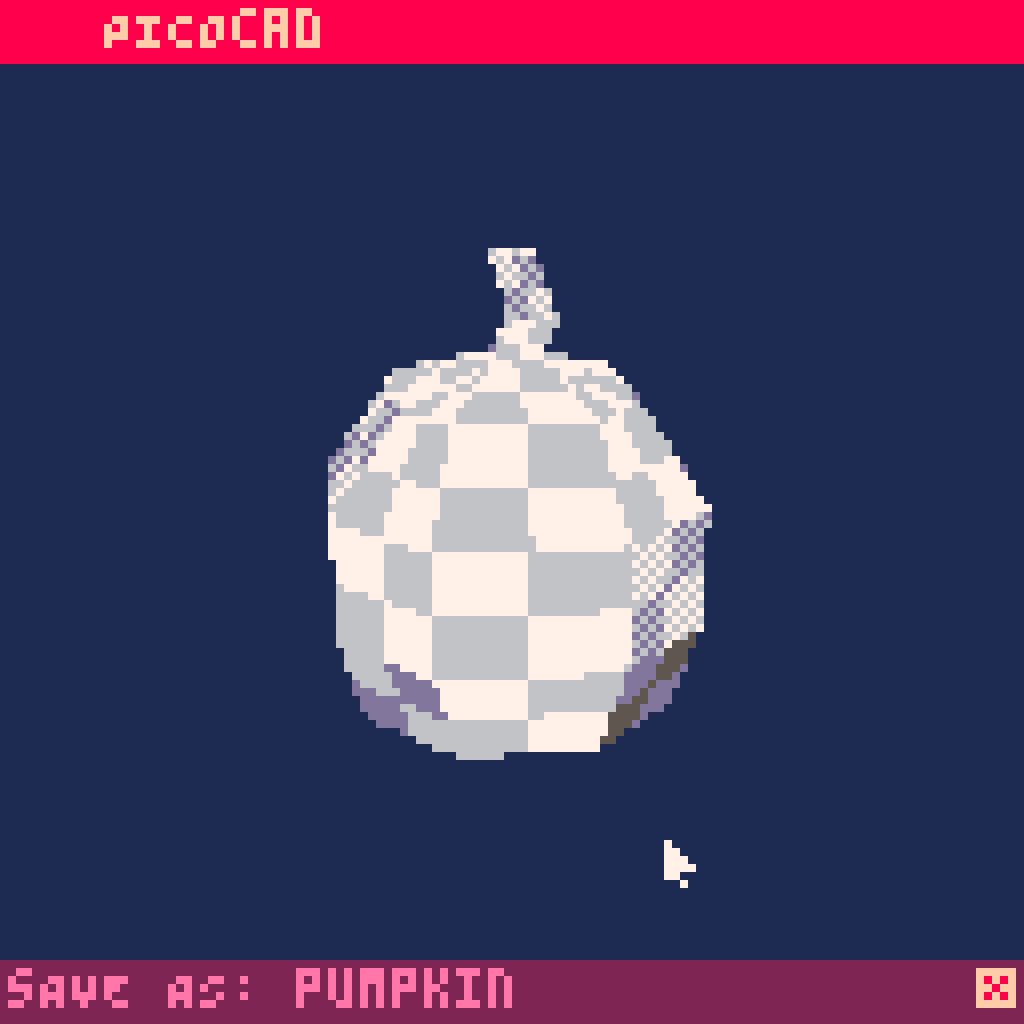
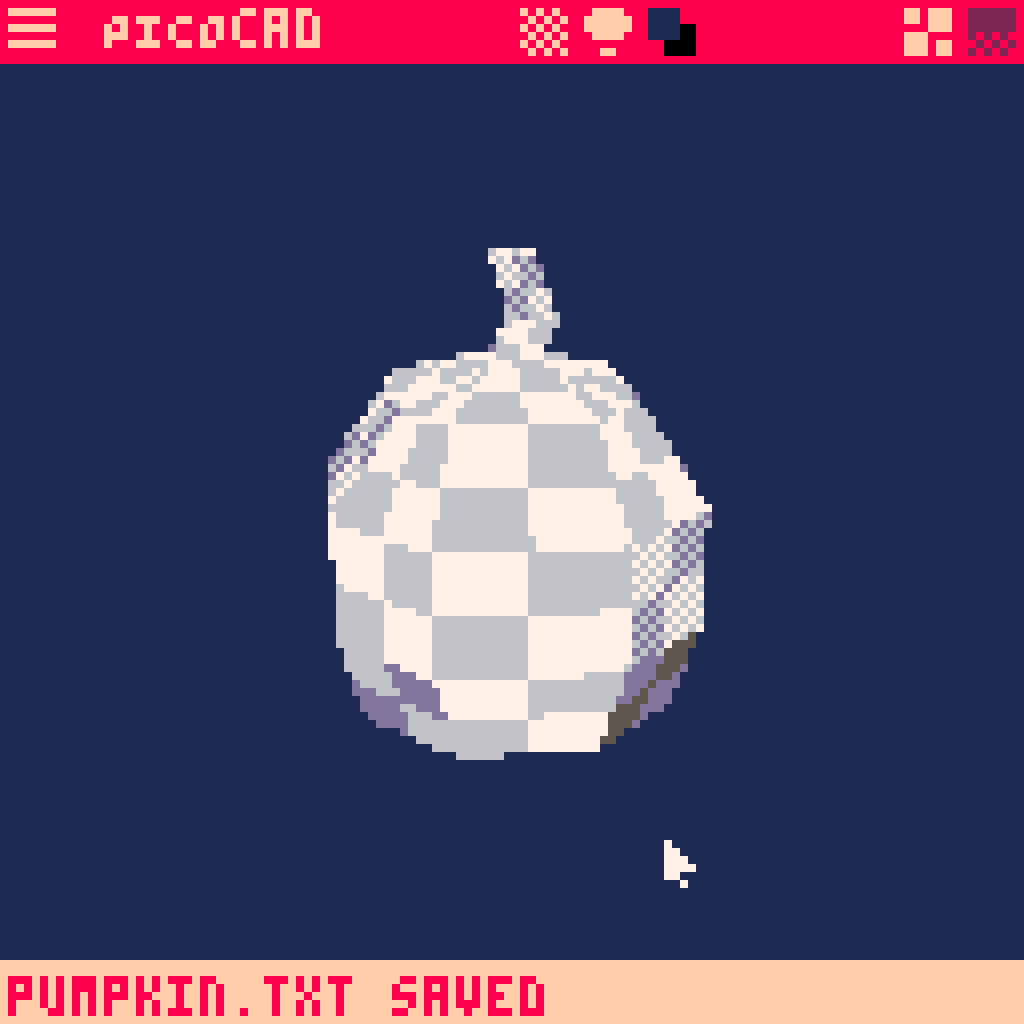
We've made quite a bit of progress so I'm gonna save it before we move on to texturing.


MAKE A FACE
Let's get ready to start texturing our pumpkin and give it a spooky face.
For this part we'll open up our favorite image editor program. Mine is a program called Aseprite {link} that's great for sprite editing.
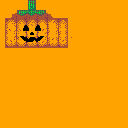
Make a new 128 x 128 px file. We don't have to use the whole canvas but PicoCAD likes that size. It'll also be useful to try to use a Pico-8 pallete since PicoCAD uses the limited colors of the Pico-8 system.
Feel free to use the texture I made, or use it as a reference to make your own!

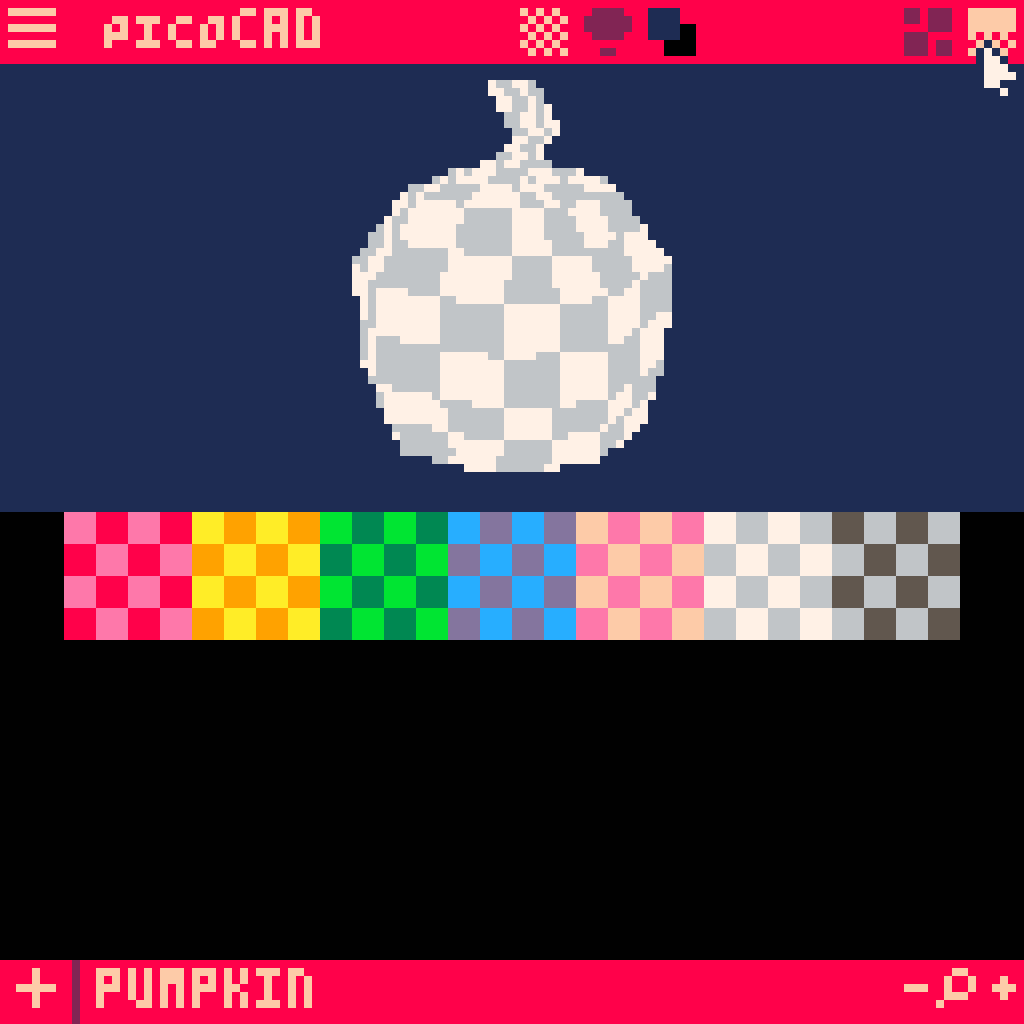
Back in PicoCAD, click the icon at the top right to move to the texturing screen. You'll see our checkerboarded pumpkin plus a bunch of checkerboard patterns.

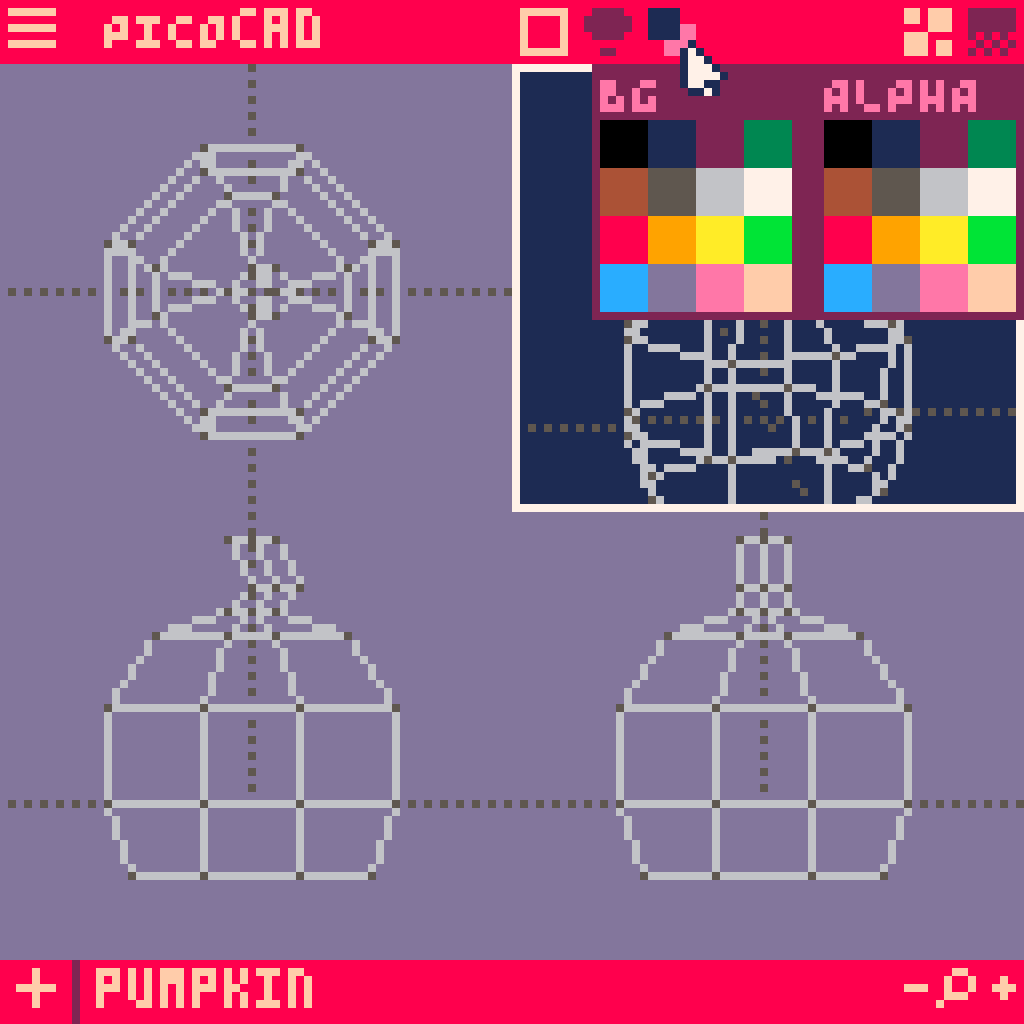
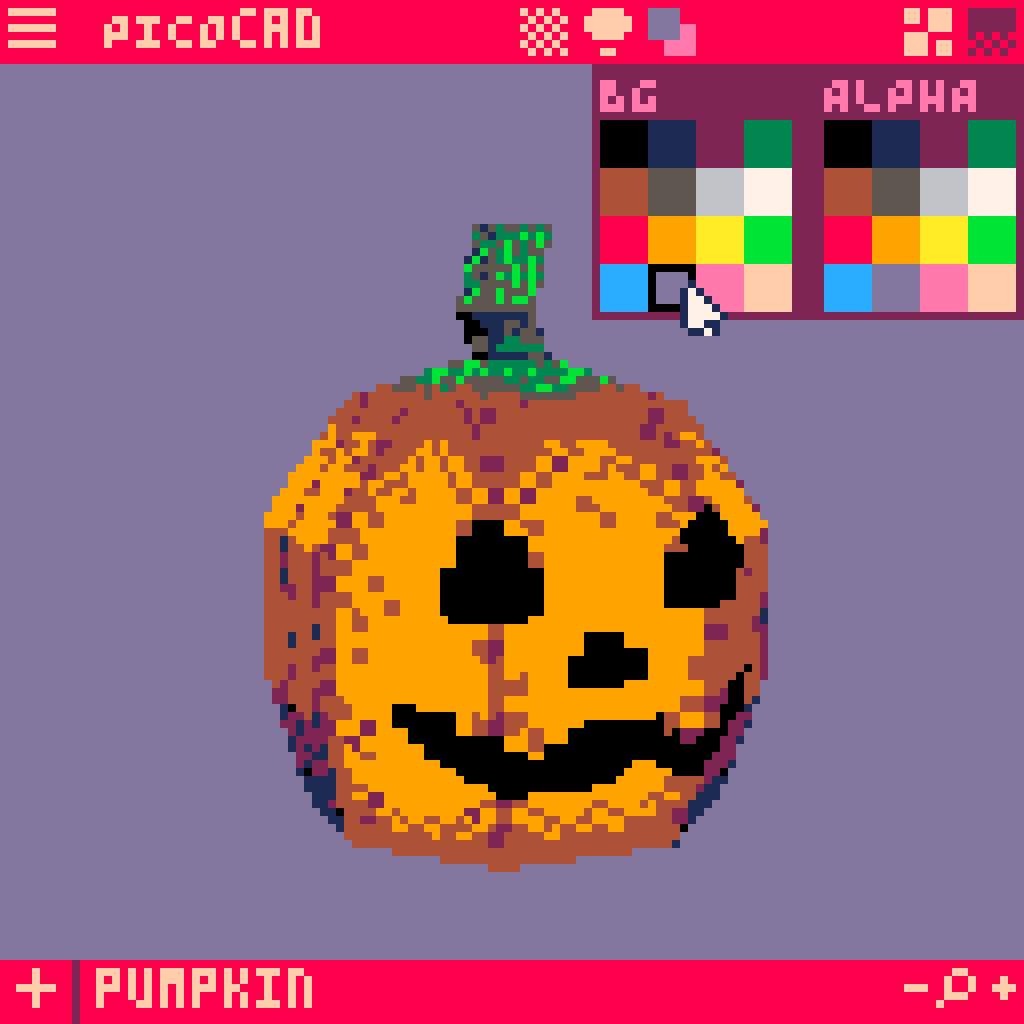
Next we'll want to change the Alpha color. This tells PicoCAD which color to ignore and make invisible. The default is set to black and we want to use black. Click the icon at the top that looks like 2 colored squares on top of each other and select a color we probably won't use in our texture in the ALPHA category. I selected pink for now.

Drag the texture file into the PicoCAD window. The colored checkerboards should change to the texture we loaded in.

I've already started texturing my pumpkin so we'd have an easier reference, but don't worry, you'll get caught up.
Click on a face on your model. Choose a spot in the middle to be the front of the pumpkin.
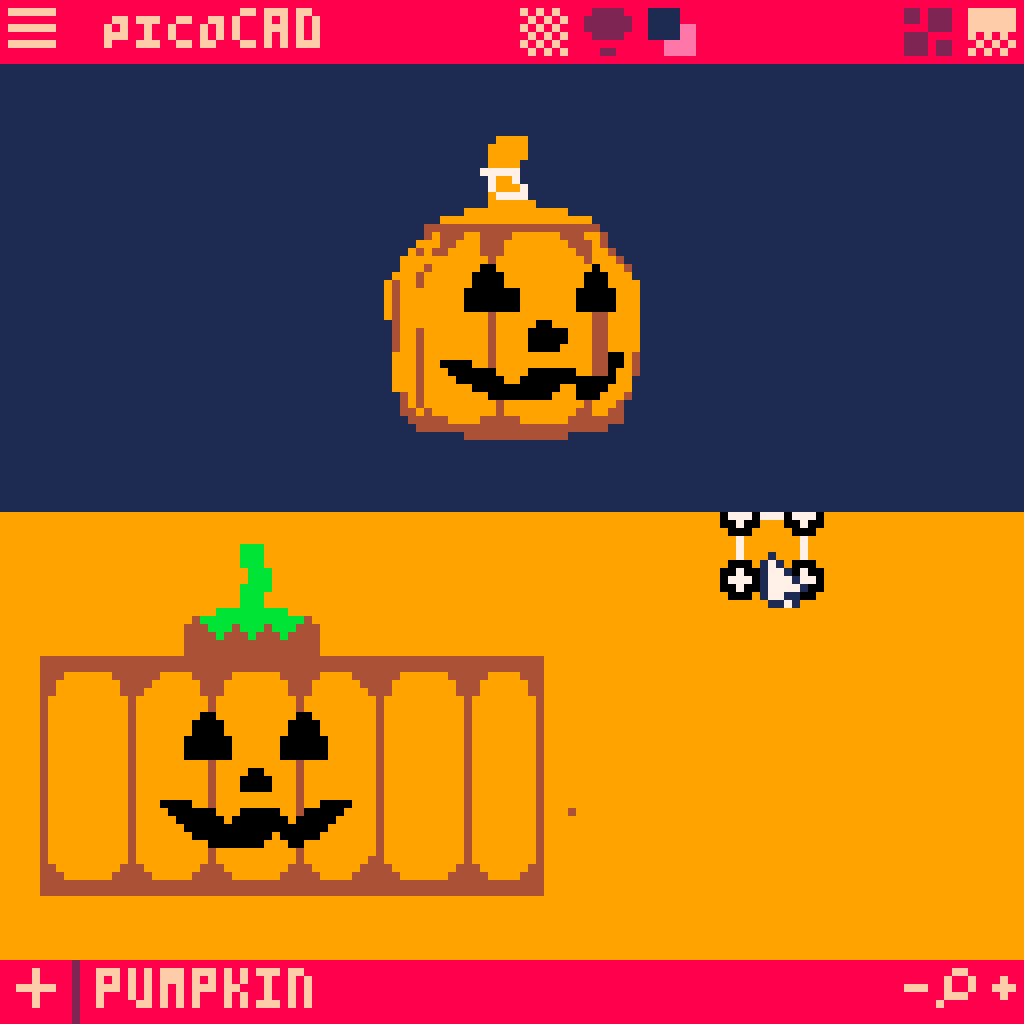
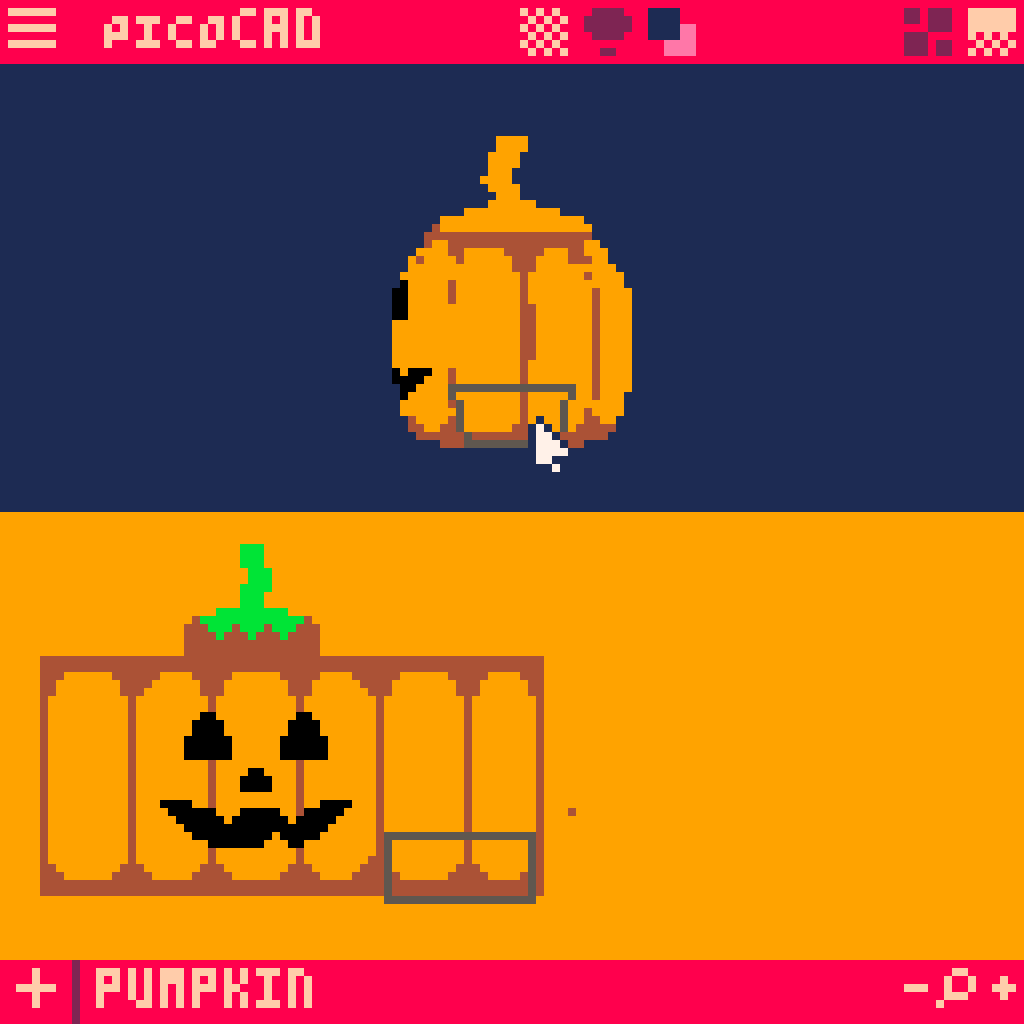
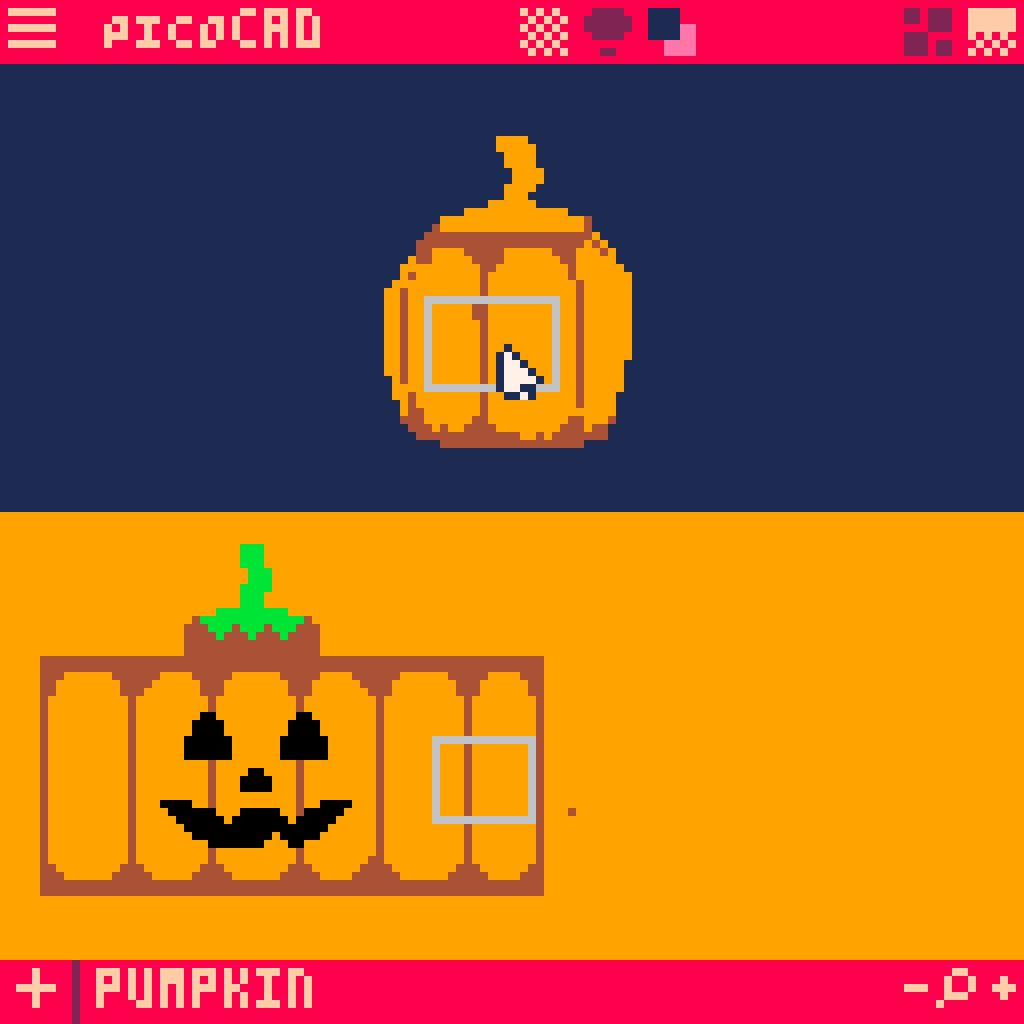
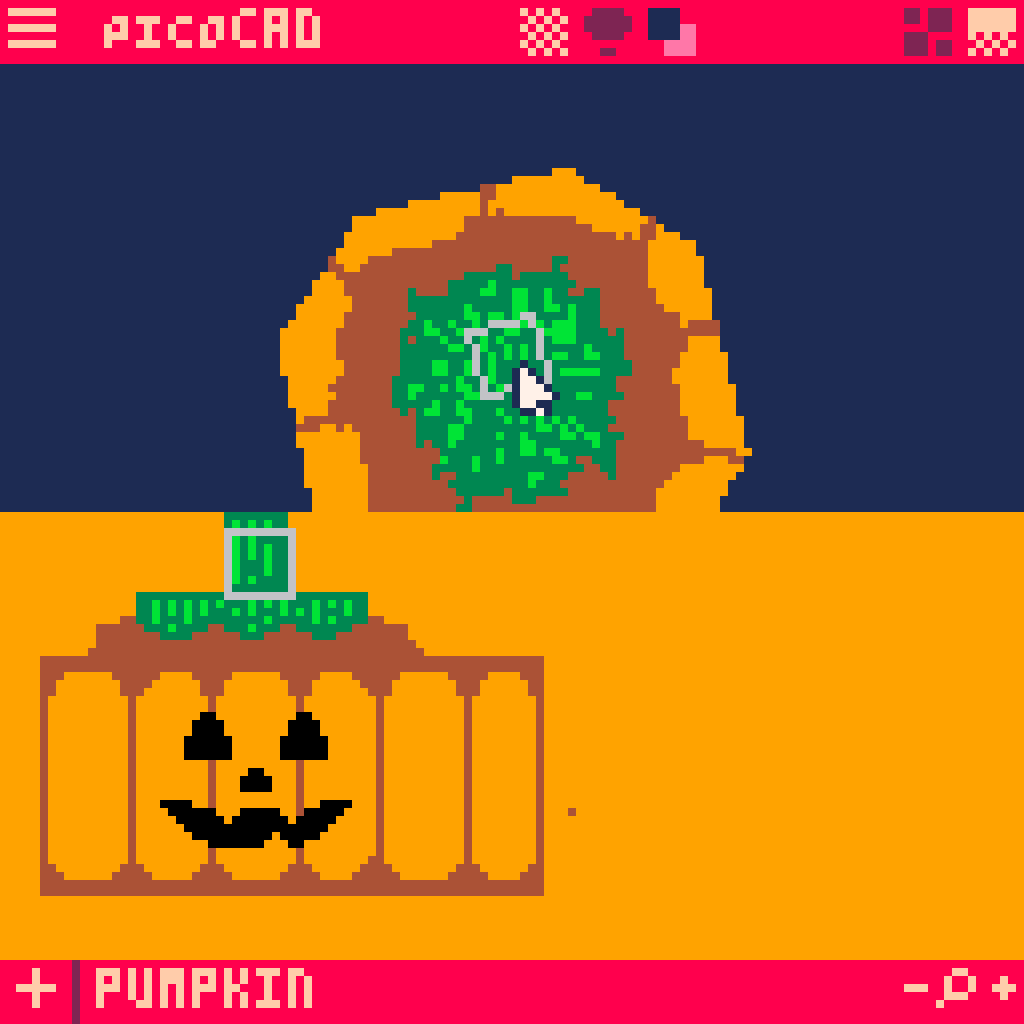
When you click any face on the model, its correspinding area on the texture map will be towards the top right. We'll have to drag it over to the correct spot on our texture and make sure it's the right size. Here's how to do that in PicoCAD.
When you click on a face on the model, it's area in the texture map is highlighted. Click on the highlighted area to select it.

Now drag it over to the jack o lantern on the texture map.

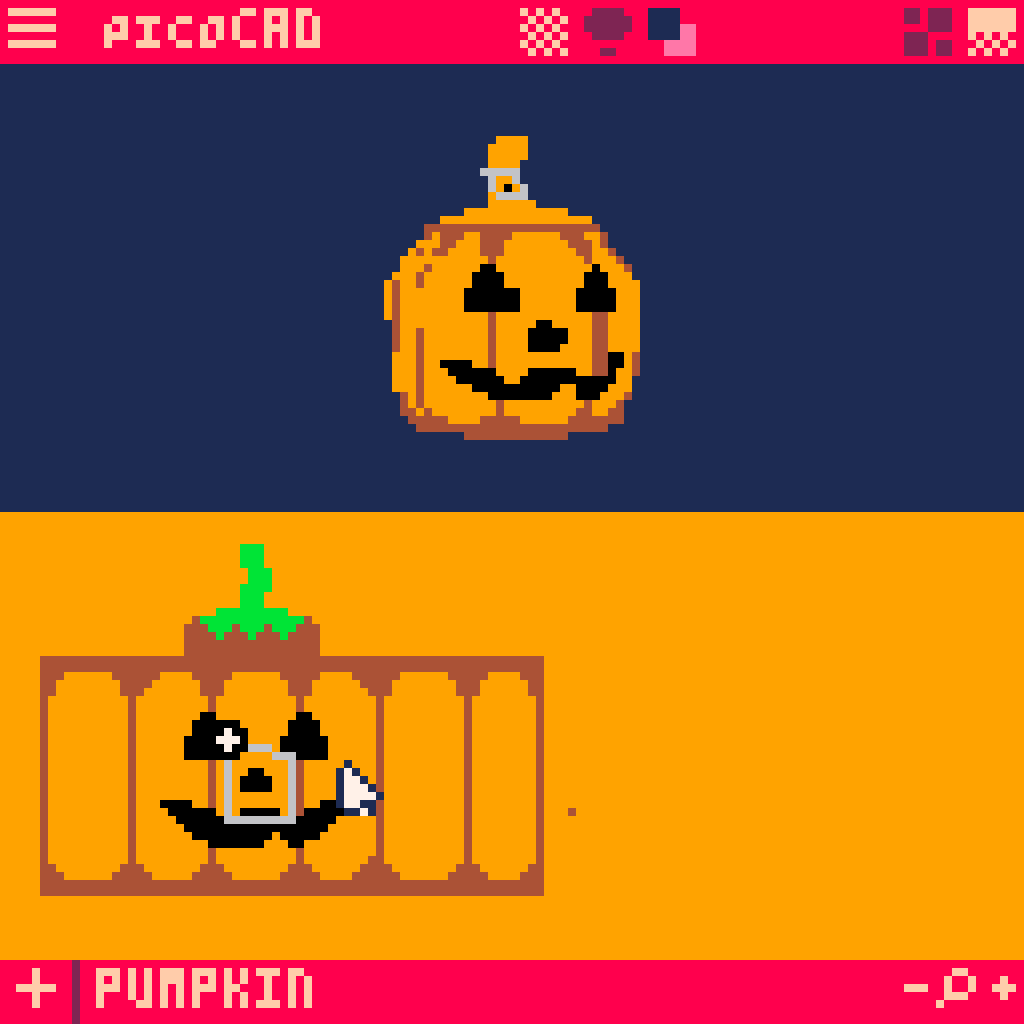
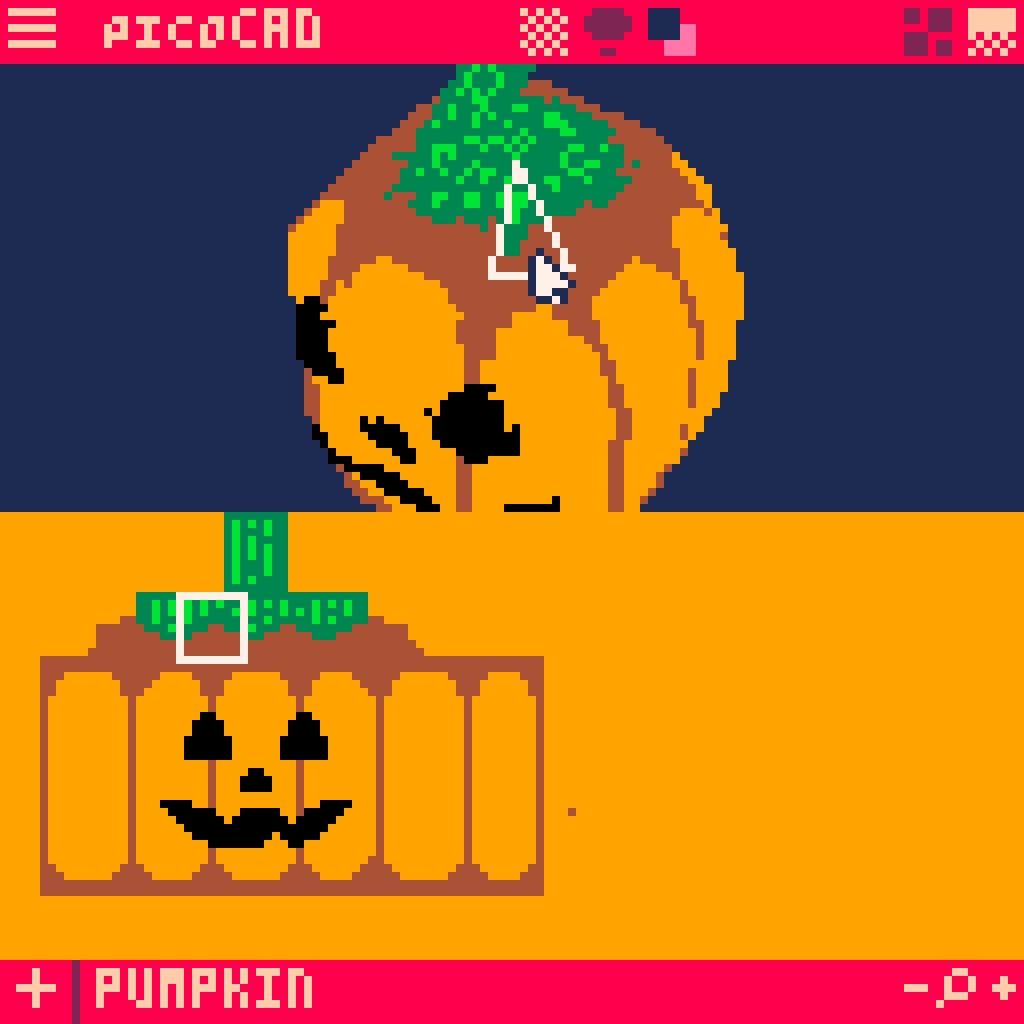
It'll probably be oriented wrong on the model compared to the texture map. Press the R key on the keyboard to rotate the area until it's the correct orientation on the model.
Now let's resize it. Click on one point of the area to highlight it. Then use the arrow keys to move that point.

Do that with all points until you get the size we want.

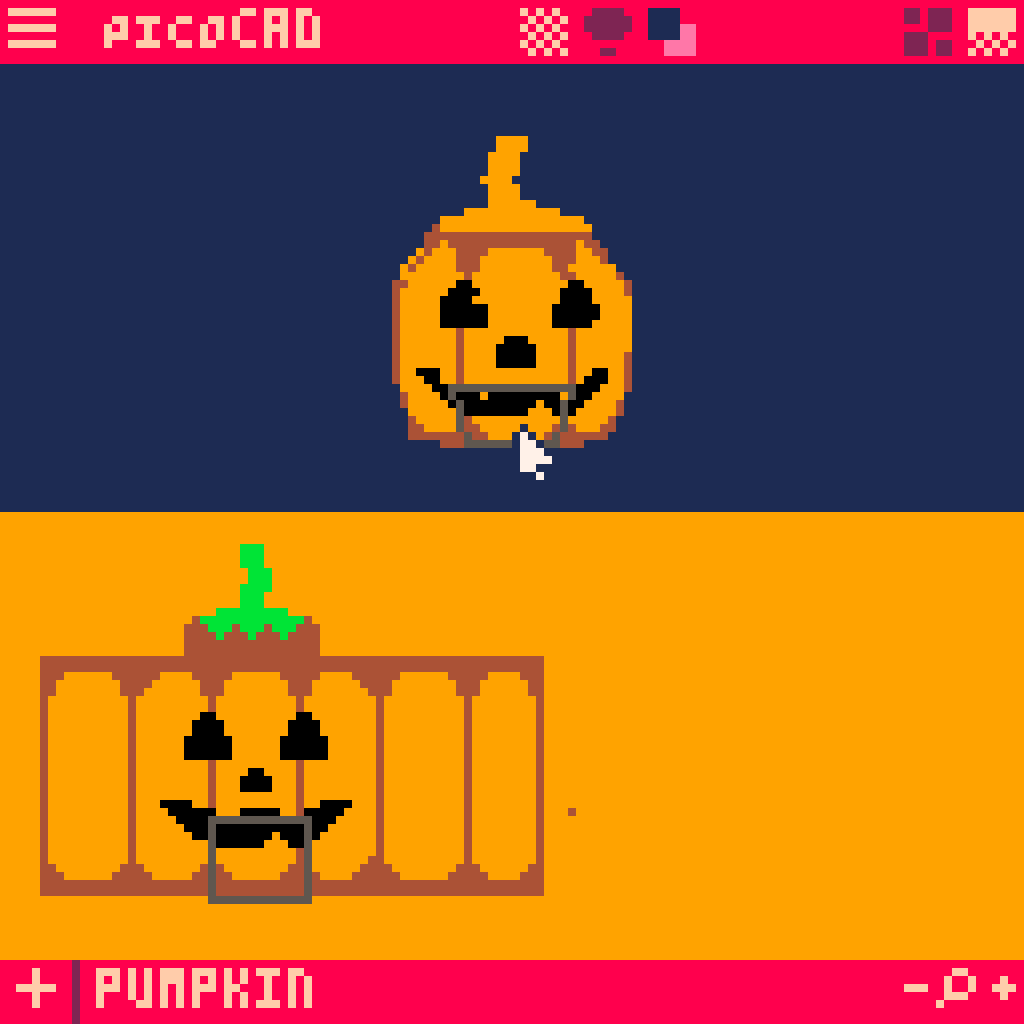
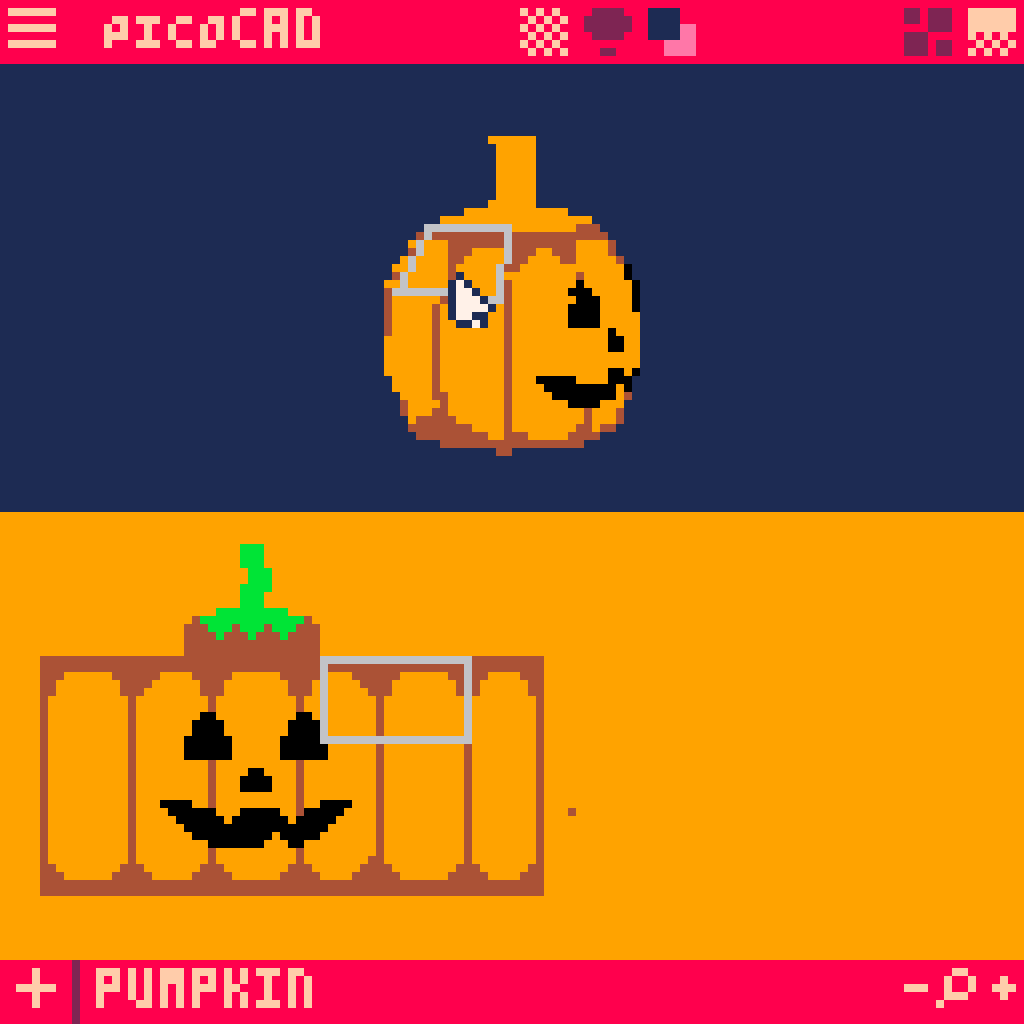
Now click on another face and do that stuff again... and again and again and again!
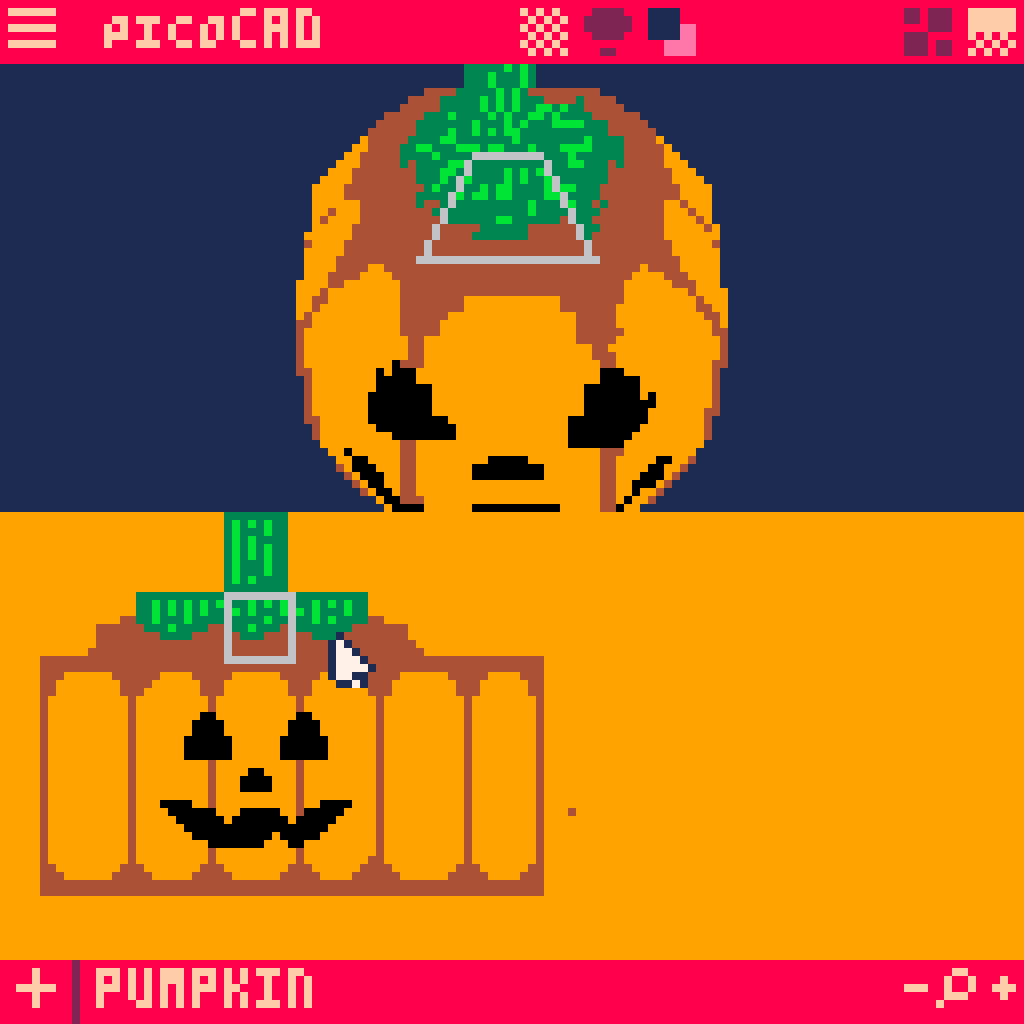
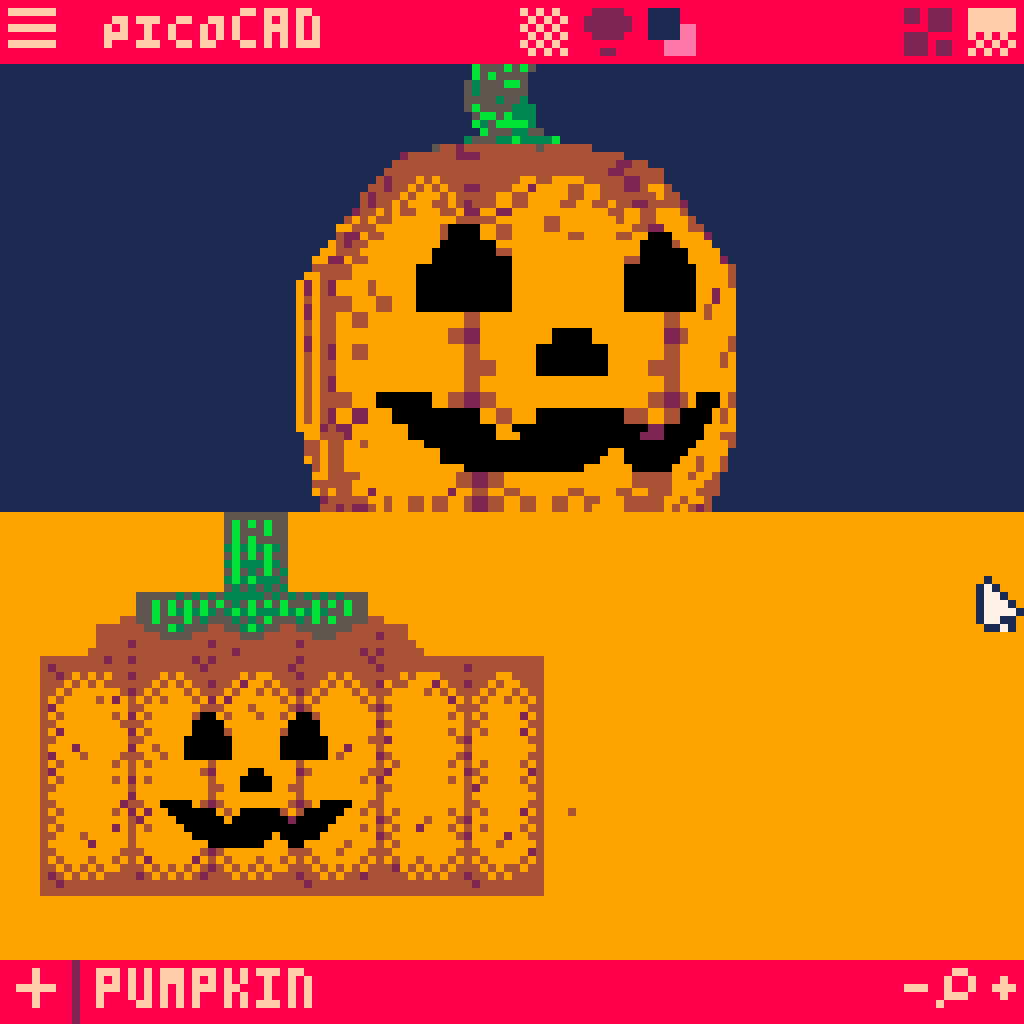
Here's some pics for reference on how we might arrange the faces on our texture map.


One key thing to keep in mind is how fickle texturing can be. During this process, I went back to Aseprite to tweak little things constantly and you can see in the reference pictures how I had to stretch certain faces to get them to fit right on the model. That's okay! Your drawn texture is only half the battle... the other half is getting it to look good on the model, so if you need to cheat and fudge the texture or the faces, as long as it looks good in the end you're golden.
I tried to get all the non-jack-o-lantern faces of the pumpkin to fit in the same, non-decorated vertical slice of texture, but I ended up doing a few different columns of different sizes to account for the different face sizes on the model and to give some wiggle room.
I also planned on doing more detailed textures for the stem and top part of the pumpkin, but I found that keeping it simple in both texture and wrapping added some unexpected touches.
Aaaaaand ta-dah!!

If you've followed the instructions up until now you should have a decently modeled, decently textured jack o' lantern! Woohoo!! Looks pretty rad!
Let's start getting it ready for the final step.
TIME TO SHINE
Before I got mine ready to export, I went back and added some more detail to the texture.

Then I went back to the modeling view and highlighted the whole model and moved it down below the baseline a bit so we can get a better camera angle when we export it.

And this is a matter of preference, but I'm gonna turn shadows on for the export because I think it looks cool. We can do this by clicking the little lightbulb icon up at the top.

We can also change the background color if we want. I chose this periwinkle color because I think it makes the colors and the shadows of the model stand out without being too distracting.

Now here comes to fun part...
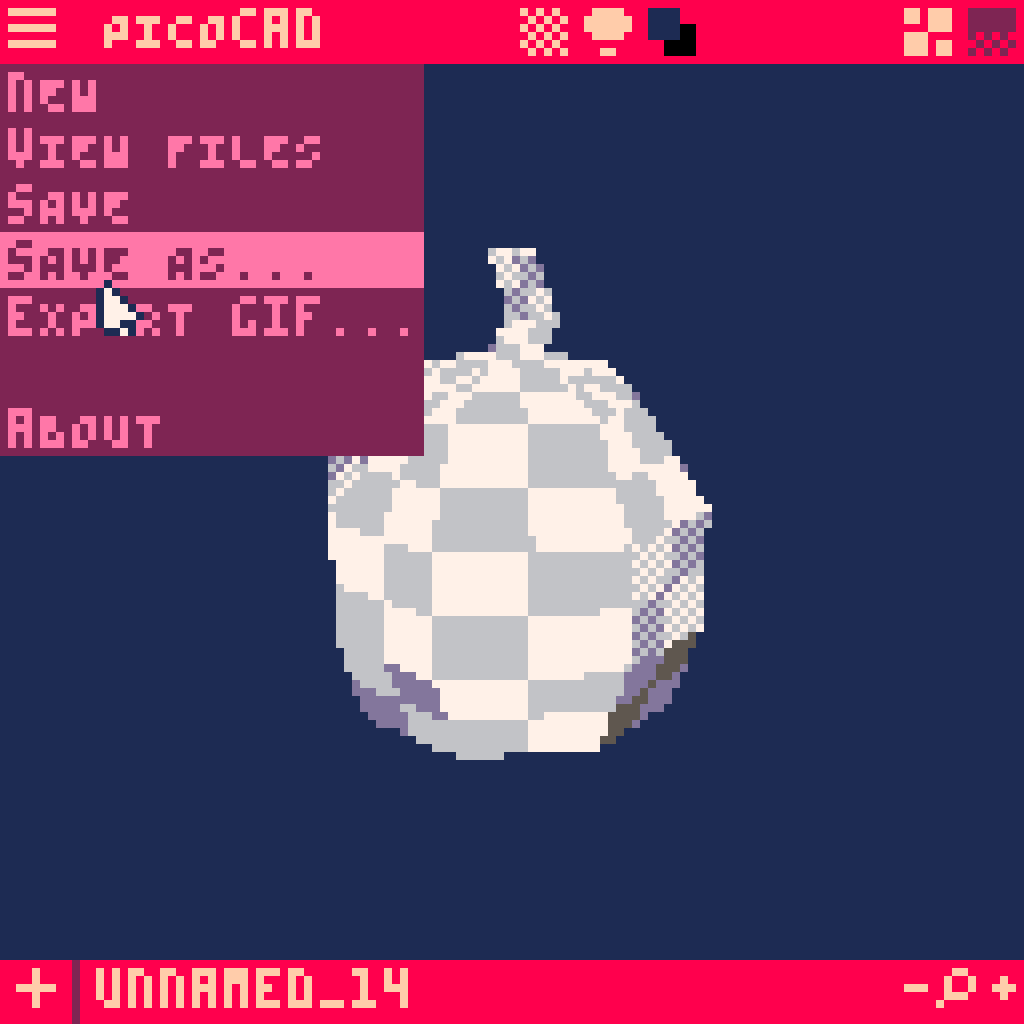
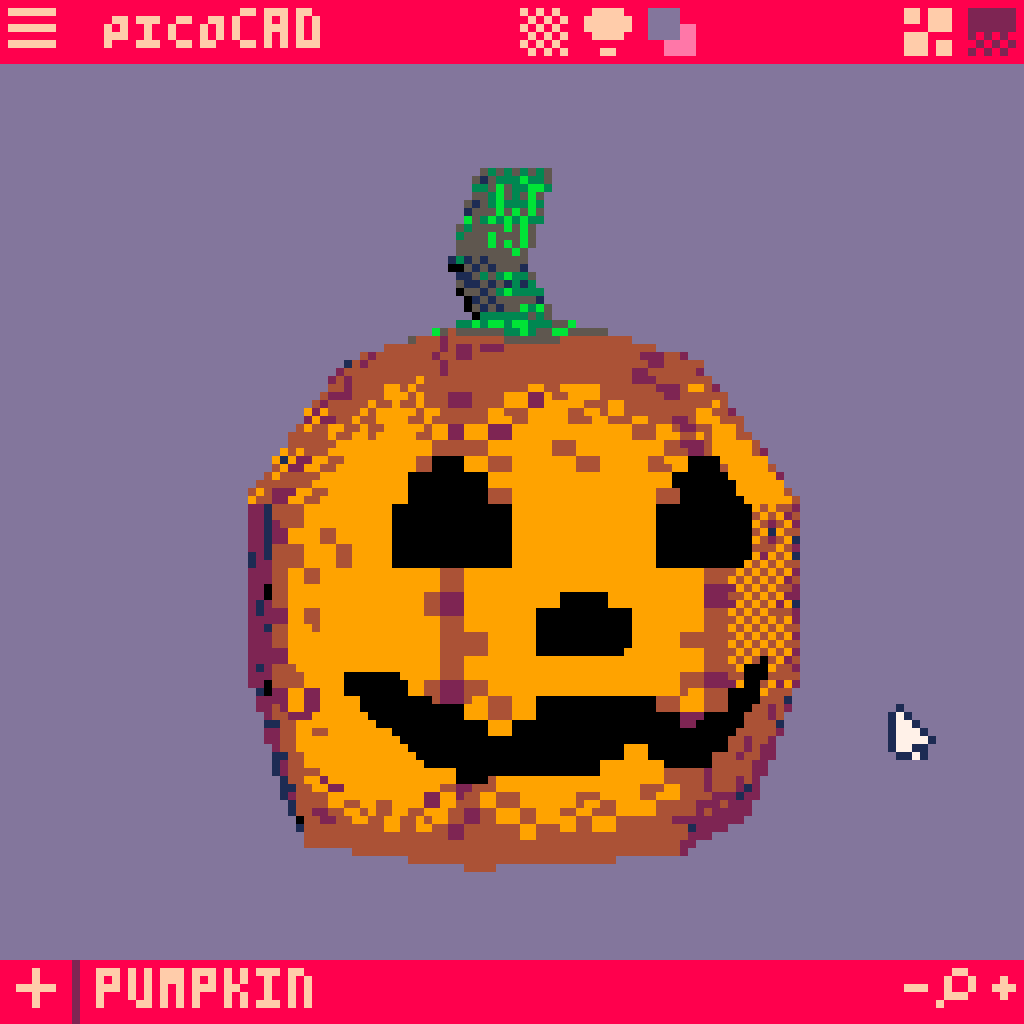
Use the arrow keys and the mouse wheel to get a good angle on your pumpkin. I like this down low shot here.

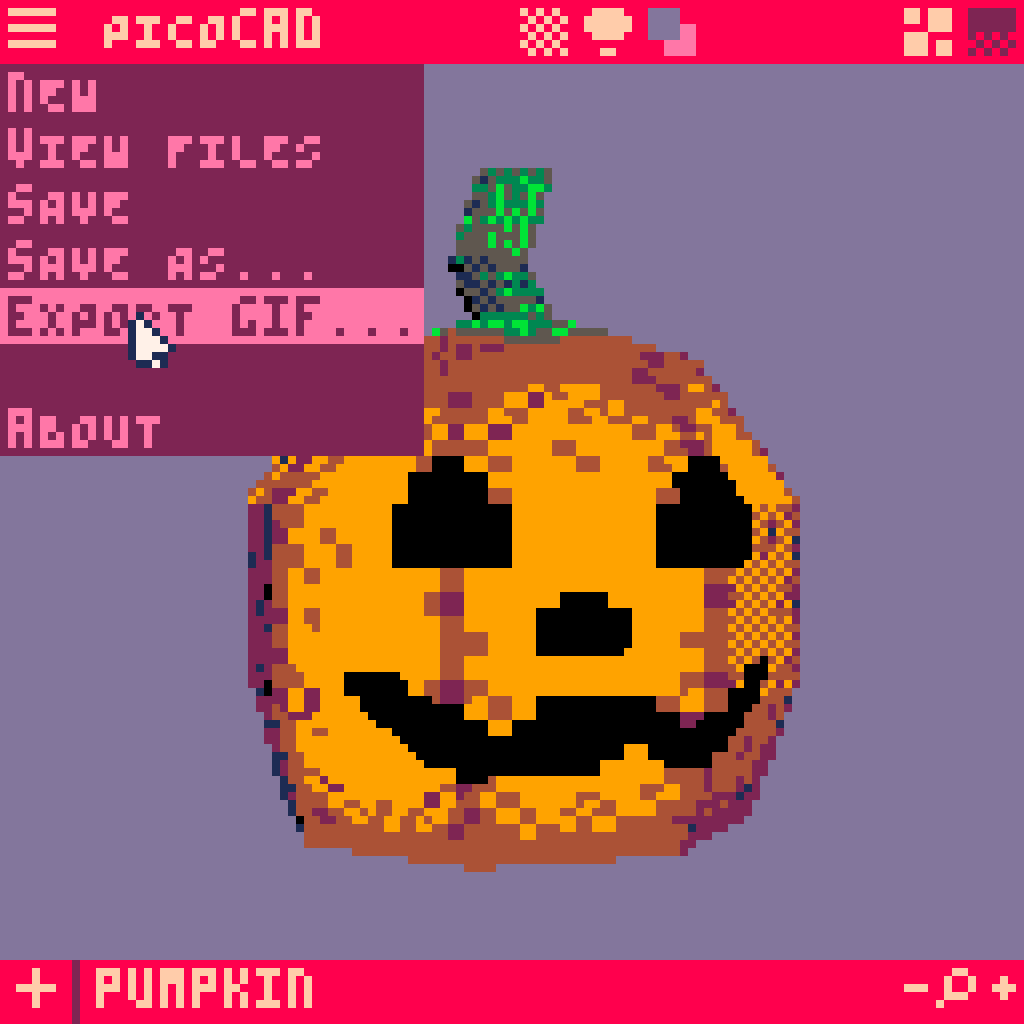
Now click the menu button at the top left and click EXPORT GIF...

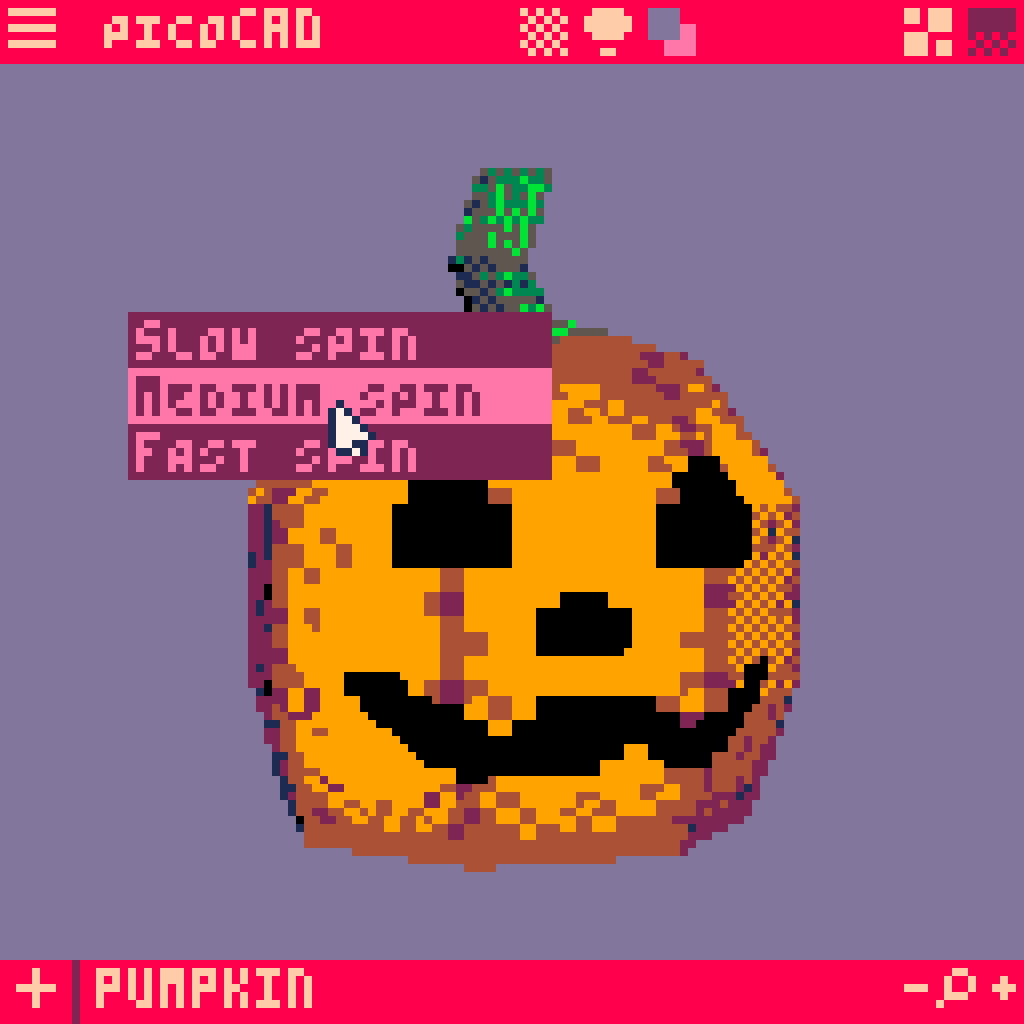
Choose what speed you want...

And you should see your GIF being made.
And that's it!!! Check it out!!

You can click the menu button again and see your GIF file in the PicoCAD folder.
From here we can experiment a little...
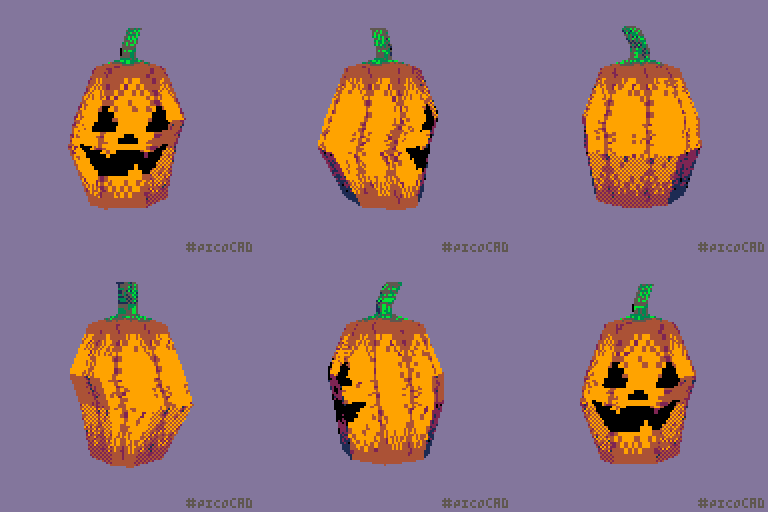
Try messing with the proportions to make different sorts of little guys.


And that just about does it! Hopefully this tutorial was easy enough to follow and will inspire you to further try out 3D modeling. PicoCAD is pretty limited for obvious reasons, and is a far cry from using a program like Blender, but it can still teach quite a bit about what it's like to create in a 3D space.
Cheers! :)
-milo
